Search This Blog

Thursday, 3 March 2022

Defender 300TDi heated seats

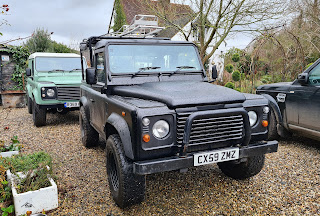
This is the second time I've added heated seats to Fender. This time I've done what I think is a tidier job.

Fender is a 1998, 300TDi, so there was no factory fit heated seats option. As usual, I've had to work out my own wiring. There is a convenient feed for air conditioning, which I've used for the heated seats.
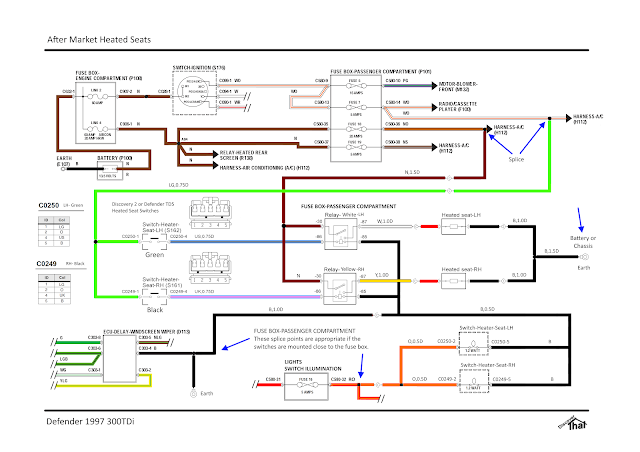

It's not very many week ago that I fitted the heated seat wiring to our TDCi Defender, Thunder Truck


As then, I've fitted relays. Land Rover wire their heated seats directly via the switches. I am unsure of the rating of the switches and the after-market heated seat pads do not state what current each circuit requires. All I know for sure is that they are fitted with a 20A fuse, so it is safe to assume each seat uses no more than 10A. I've used that to size all the wire gauges.
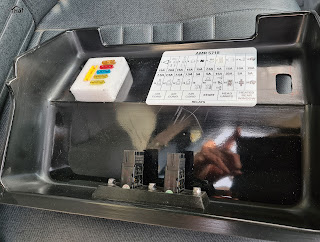
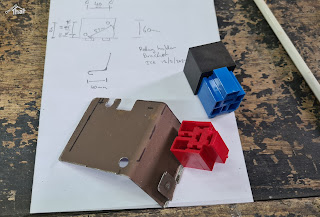

I'm using an extended fuse box cover. I bought it so I had enough space for the extra relays without struggling but it was also the ideal place to mount the heated seat switches.


I made a bracket to mount the relays under the existing fuses.


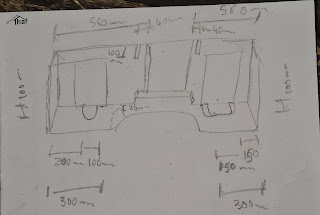
Measuring where to cut the rubber mat

Before fitting the new Exmoor Trim seats I fitted the under seat rubber mat. Another Exmoor Trim product.


I've used some 1/2" (12.7mm) spacers to stop the seat rails catching on the thick rubber mats. The mats are so thick, I've found, that it needs at least 12mm spacers for the seat to move freely.


I needed longer seat bolts, so I bought some stainless steel M8x40mm torx pan head bolts which do the job nicely. I've done the same in both Defenders.


With the mats and the seats in, I threaded the cables before fitting the carpet and cubby box.


I've used Discovery 2 (D2) heated seat switches because, at the time I was looking, I could not get Defender TD5 or TDCi switches. The D2 switches are the same as the Defender switches, they just have different style caps. I've wired them so that the tell-tale lamps and the backlights work.


Tested and working well. Nice and warm.

==

Wednesday, 2 March 2022

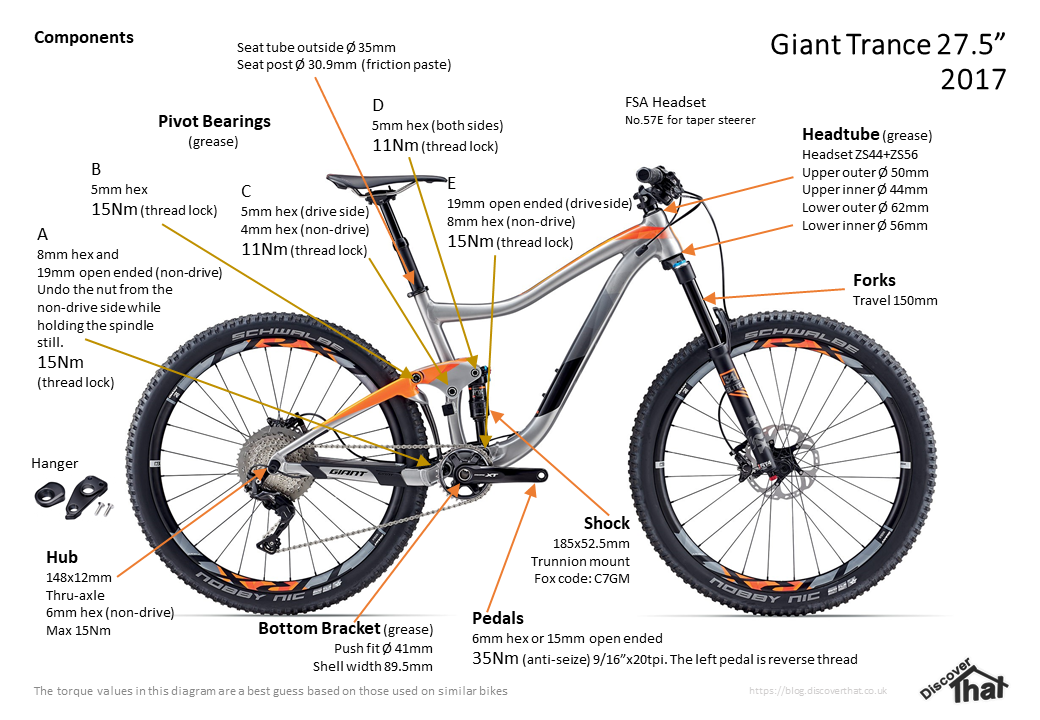
Giant Trance 2017 components

I've started another bike build. Yet again, I've gone for a Giant Trance frame but a newer generation. This one is a 2017 frame which has the latest geometry. I've just got to the stage of taking the frame apart and have created a document to record all the parts.


==
Download the diagrams as a PDF.

==

Friday, 25 February 2022

Discovery 4 door mirror replacement

 I finally got round to swapping out the damaged door mirror assembly that I damaged at Christmas.


I was hoping to be able to get away with just replacing the plastic upper cover, but when I looked, the metal internal housing was cracked. 


The whole unit had to be replaced.


I tried to do it just by removing the small plastic speaker cover section, but the connector for the cable is behind the door trim panel, so off came the door panel.


It's not too difficult to remove the panel. There's a screw at the open end of the door, towards the top.


There's one behind the door opener. By pushing the bottom edge of the little cover, the top edge pops out enough to get hold of and it comes out.


There are two screws each side of the grab handle. The silver plastic covers are a little tricky to get the trim tools under but with enough confidence and a bit of struggling, they pop off. 


There are some small tabs at the sides that make it more difficult. Knowing that helps to lever in the right direction.


The two long screws in the door pocket are easy to get out.


With all the screws removed, it's fairly easy to pull the panel off, starting in the lower outer corner. Again, it needs a bit of leverage and some confidence to get the clips to pop out.


Watch out for the small triangular speaker housing. There is a popper type clip that will fall out and is easily lost.


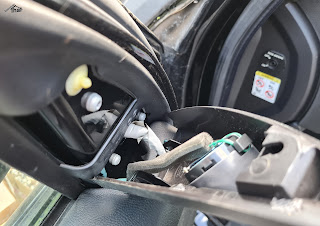
As I was only doing the mirror, there was no need to disconnect the wires to remove the door panel. I could get to the door mirror connector and screws, easily with the panel just pulled away.


Swap with the new assembly.


Clip in the new motor and secure with the one central screw.


Attach the wire to the heated mirror and push on.


Lastly, after having checked it works, I clipped on the new plastic cover.


Put it all back together and checked it all still worked.

== 

Tuesday, 22 February 2022

Cap and bung for bike brake hoses

Whenever I take off hydraulic hoses from bike brakes, I need to find a way to temporarily seal the ends. Partly to stop the fluid dripping everywhere and partly to keep the dirt out.


On some new brakes, like Shimano, they come with some push in bungs and a rubber cover. 

As shipped by Shimano

I have a couple of those in my spares box or in use.


I have designed and 3D printed a cover and screw in bung that fits 5mm hose and the thread (8mm diameter 0.75mm pitch) of the fitting on Shimano bike brakes.


One end screws in to the brake lever or calliper and the other end has a hole that fits over the hose. 


Download:

Bike brake hose bungs STL and STEP (Zip)

==

Sunday, 20 February 2022

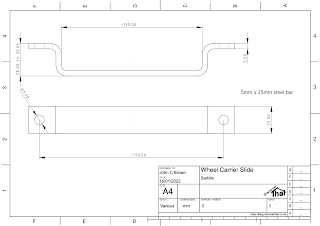
Wheel carrier modification

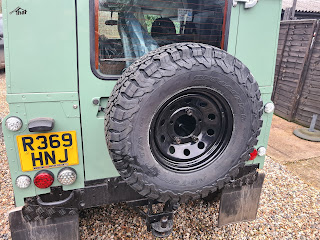
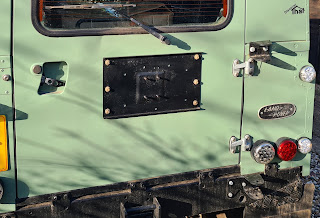
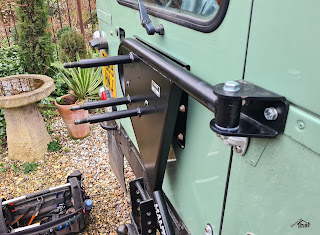
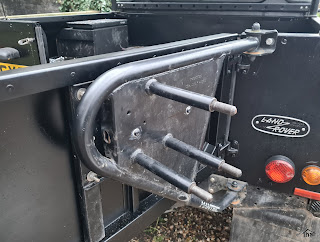
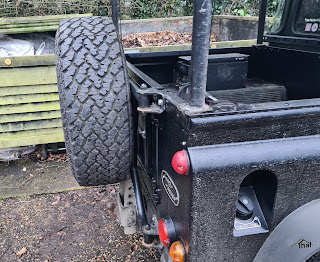
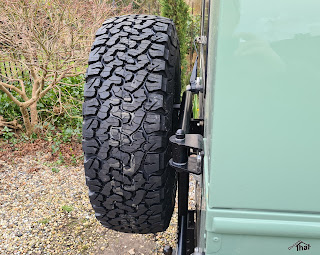
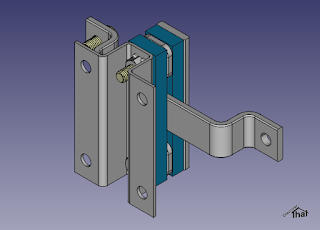
I've had a Mantec swing away wheel carrier, fitted to a Land Rover Defender, for several years. A similar design is now sold by Britpart. The Mantec wheel carrier has worked well. It's a nice robust structure and opens with the door.


To allow it to swing with the rear tail door, the original design uses a large plastic plunger. This works well to allow the wheel carrier to move with the door but has the disadvantage that unless it is exactly aligned, the carrier will lift the door off its hinges. This happened to ours when it was moved to another Land Rover.


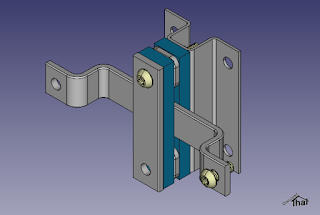
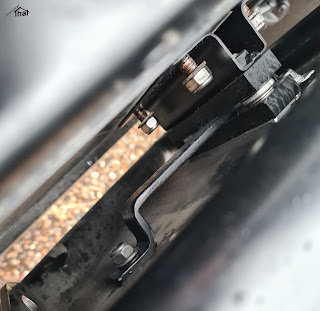
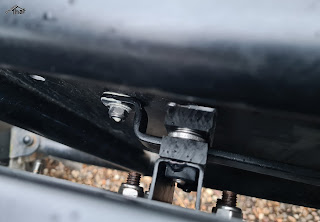
That got me thinking and I came up with a design that slides in both directions, so the door position is not influenced by the carrier at all.


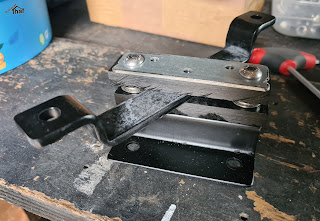
A friend made up a couple of jigs from my designs and pressed the more difficult parts in his workshop. 


I put them together in my shed. I cut the two plastic sliders from some 10mm thick nylon like material I had bought many years ago for another project.


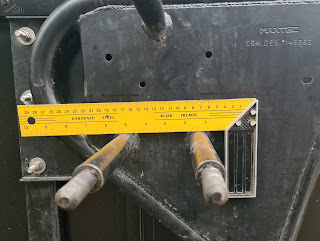
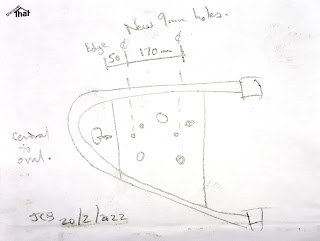
The carrier needs two 9mm holes drilled. These need to be along the same centre line that the original plunger fitted. This is easy to find by looking at the oval hole in the end plate, where the plunger used to bolt through.


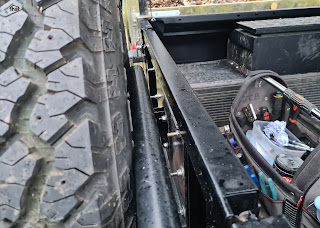
There is little room between the door and the carrier. 


It took a little experimenting to work out the easiest way to get the nuts on in that confined space. For me, the best method was to loosely attach the larger strap to the carrier first and then put the nuts on the door side.


I've fitted it to two cars and, so far, it's worked very well.


The carrier does not need any alignment when fitting so everything can be bolted up tight, as you go.


==

(C) Copyright 2022, John C Brown.

Please ask permission before using this design.

==