Search This Blog

Showing posts with label Horses. Show all posts

Wednesday, 2 October 2024

Saddle Rack

Trying to be as efficient as possible with the space in the new tack room, I've built my own saddle rack using key clamp fixings.


I'm making several other fixtures in the newly completed outbuilding and I have opted to use 42mm outside diameter poles and key clamps for all of those.

By trial and error I found that a spacing of 500mm between the saddle racks was a comfortable size.


==


Monday, 29 May 2023

And then there were three

Holme Grove Boxter arrives at ours to join Holme Grove Constable, Tom, and Holme Grove Gwygion, Henry.


==


Wednesday, 13 May 2015

Drinker Update

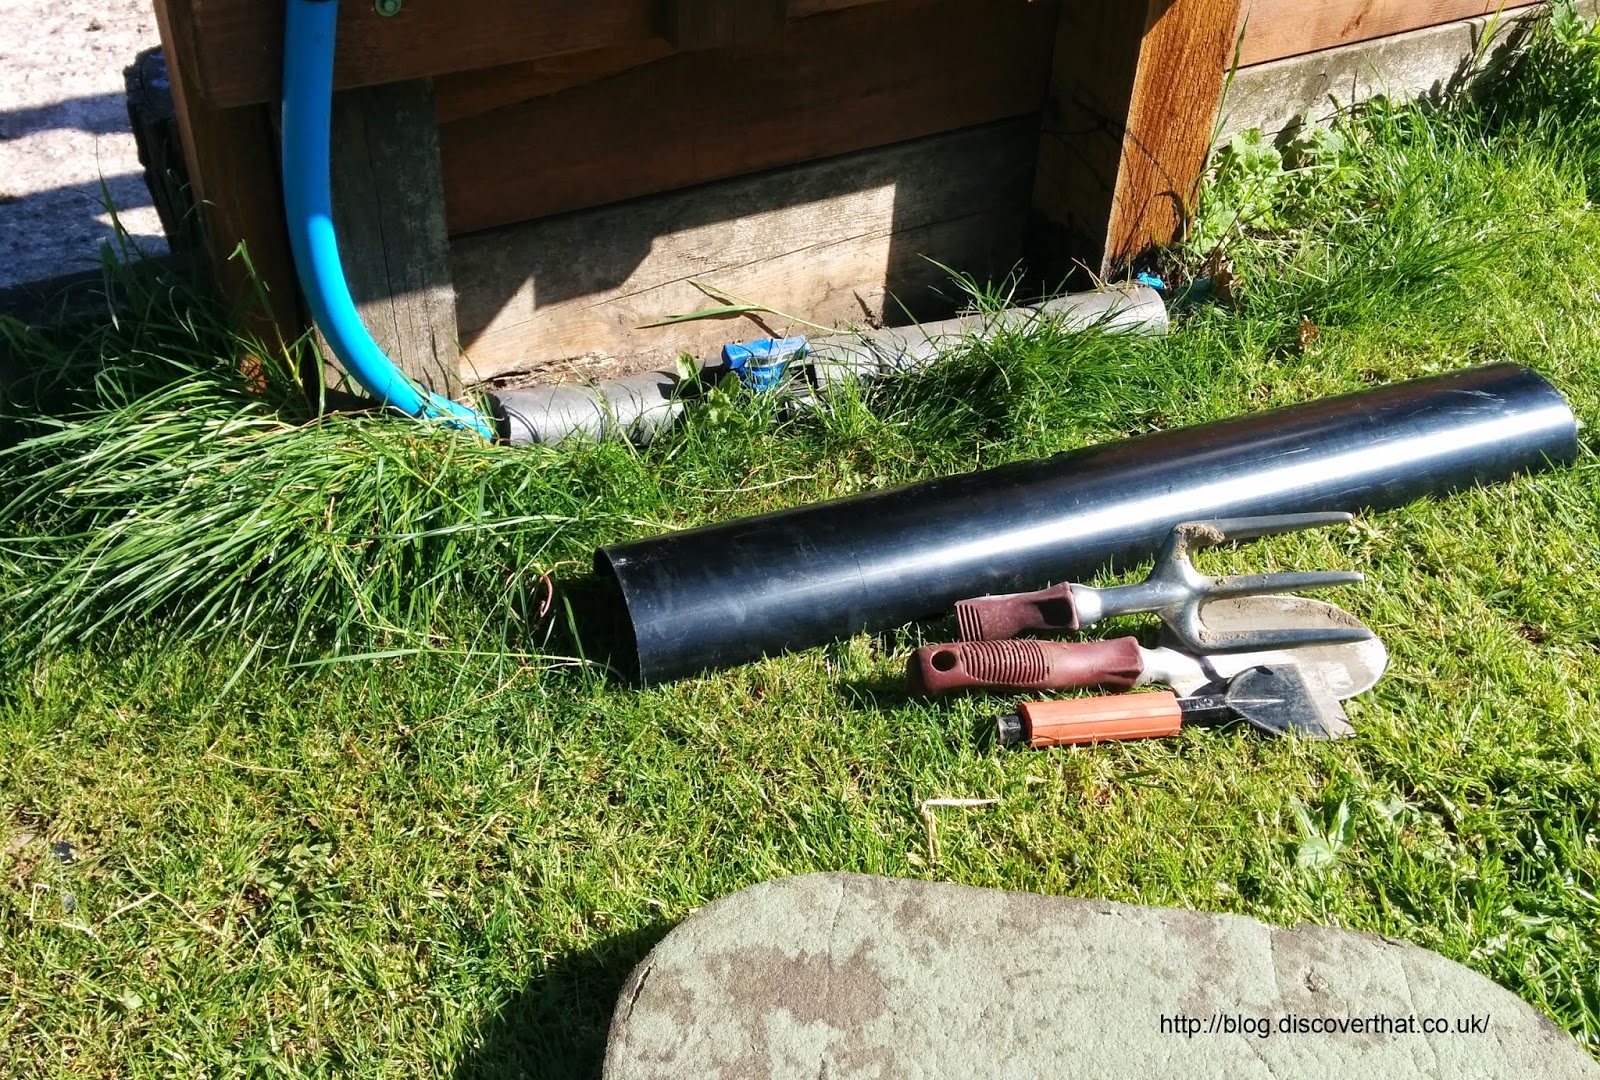
The pipe that feeds the water drinker in the yard was a bit vulnerable to damage. Most likely from a lawn mower.


I've added some protection using an off-cut of plastic guttering.


The cats helped as usual.


Sunday, 1 March 2015

Two Nose Drinker

We did some more digging yesterday.


This was to run a water pipe to feed a new drinker in the yard.


When we fitted the original field drinkers we did not expect the horses to spend so much time in the yard.


For the last few years Shelley has filled buckets in the yard.  We decided recently to fit a permanent drinker.


Tom and Henry like drinking together so I bought a drinker large enough to let them both drink at the same time.


The gravel and concrete in the drive was exhausting to dig through. I broke through about an 8 foot length of what was probably hardcore from an old path that used to run along past the stables. Shelley did the rest of the digging while I modified the fence to support the drinker and plumb it in.


We did get it all done in the one day.


The moment the drinker filled with water the horses started to use it together.


Thursday, 10 October 2013

Gloves

Our farrier uses these and they work well.  He can pick up nails and properly work while wearing them: http://www.glovesnstuff.com/49p-PU-Palm-Coated-Klass-Polyester-Glove_A113ED.aspx

We've tried them and now use them all the time. I wear L/9 and Shelley wears S/7.

Sunday, 12 May 2013

Field Drinkers

This is not so much a review as a brief comment on the type of field drinker that I prefer.

This make of horse drinker uses standard parts which are readily available.  I find all plumbing needs maintenance, these are just easier:
http://www.paxtonagricultural.co.uk/

They can be purchased online from:
http://www.estatesupplies.co.uk/agricultural/auto-drinkers-troughs/paxton-water-troughs/cat_149.html

In the field, the horses prefer the larger sizes where they can both easily drink at the same time.

==

Update 2022:
We have replaced the drinkers with much larger models. The AT21.

It's easy to install and uses standard components so works just as well as the smaller versions.
I chose it because standing on the ground the water level is at a reasonable height.
In the fields, they are standing on paving slabs.

Update 2024:
We've used the larger AT21 troughs in the new stables and yard.

==

Saturday, 25 August 2012

Mud Fever Reminder

Poor Henry has some Mud Fever on one of his front legs.  Due to the wet weather this year he's had it twice but the second time it has not gone away with simple cleaning and we have had to call the Vet out. 

I just wanted to keep a reminder of exactly what the Vet did and did not do so we can do exactly the same if necessary in the future.  Shelley has posted a longer article on her blog.

Things to do:

  • Dilute Hibiscrub 1:100 with water in a small resealable plastic pot (from Tesco.)  Do not keep the diluted Hibiscrub more than a few days.


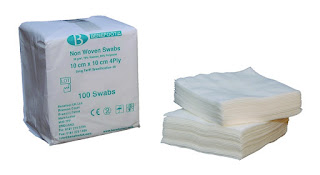
  • Soak some square swabs (10cm x 10cm cotton gauze swabs or similar non-woven versions) in the diluted Hibiscrub.

  • Thoroughly clean the area using the swabs picking off all of the scabs.  Use as many swabs as necessary.
  • Dry with disposable paper towel.  The blue professional kitchen stuff is a good choice.  This can then be thrown away to avoid any transfer of the infection.

  • Do not rub too hard but get the area dry.
  • Once dry apply a cream.  A thin coating rubbed in over the area.

  • The cream may be prescribed by the Vet or in minor cases other creams like udder or wound cream may be appropriate.  The Vet will suggest which.  Some creams may require wearing gloves.
  • The repeated treatment is to just apply the cream once per day.
  • Only clean the scabs off if there are lots of them.  Removing the scabs too often may aggravate it.
  • In more severe cases the Vet may also prescribe antibiotics and Bute (Phenylbutazone, anti-inflammatory and analgesic.)

A couple of days of Bute and 5 days of antibiotics and Henry should be better.


Sunday, 19 August 2012

Archery At Last

After a couple of windy weekends and other things getting in the way I have at last got out and done some archery.

As I mentioned in an earlier post I have not done this for about 6 years so I was unsure if I could even remember how to assemble my bow let alone hit the target with an arrow!

Luckily I had kept some notes to remind myself and I followed those .


On Saturday I shot 36 arrows at 30m with an 80cm target.  I hit every time.  A low score but I was never very good.  254 using 10 zone scoring.

I thought the bow was making a funny noise.  When I had finished I noticed that one of the limbs was split.  A sliver of the resin coating along one side had come off.  I decided I needed new limbs so off to the shops I went leaving Shelley waiting for Steve the farrier.

One of the Perris Archery shops is not far from me and they were very helpful sorting out what I needed.

It was too hot Saturday afternoon for Steve to come and shoe the horses or for me to try out the new bow setup.  I had at least tried them out in the shop.  Putting them in my case at home was entertaining...


The equipment at the left hand end of the case is a cat.

I got up early on Sunday morning so I could take advantage of the cooler morning temperatures.  Well that was the idea.

I did shoot 18 arrows before the balloon went over very close to our house and landed in the fields over the road!


Watching the two balloons land wasn't the end of the interruptions though.  I did 6 more arrows before needing to go and help pull their vehicle and trailer out of a field. 

That job done.  3 more arrows and the farrier turned up.  Can't distract the horses while they are being shod and I always like a good gossip with Steve while he's making the shoes.


The horses happy and back in the field I get to shoot the last 9 arrows.  By now the temperature is way too hot and uncomfortable for me so I am happy to use that as an excuse for my poor 219 score at the slightly longer 40m on the same 80cm target.

Busy Sunday and it still wasn't even mid-day!

Thursday, 14 June 2012

Brooms

I know this is an odd thing to like but we found an excellent yard broom several years ago that has been difficult to get in the UK.


For a while there was no UK distributor and we brought them back from the USA ourselves but now there is a UK distributor again.  http://herbiesyardsupplies.co.uk/  Much easier and they have a blog: http://herbiesyardsupplies.supersimpleshop.com/articles

Sunday, 21 September 2008

Portable Hay Bar

This is another design put together in my shed.

What is this for?
Hay Bar® is a manger for feeding horses hay made from strong plastic. Designed to mount in the corner of a stable. Details of the original product can be found on the manufacturers web site www.haybar.co.uk
It is such an excellent product that we wanted one to put in the field or yard.


The Design
By experimentation I found I could bend it to mount it on a flat surface instead of a corner. This results in the front being slightly higher so it was necessary to fix it as close to the ground as possible and angled forwards slightly. I cut the outer rim to help it bend and held it back on to the strengthening tube with cable ties.

Dimensions:

  • Width= 900mm
  • Height= 1200mm


Materials (all sizes approximate):

  • Hay Bar®
  • 12mm WBP Ply
  • 38x88mm fence rails
  • Galvanised steel flat bar
  • Plastic cable ties
  • 20mm plastic conduit inside the rim tube for added resistance to kinking