Search This Blog

Showing posts with label Model Making. Show all posts

Sunday, 11 January 2026

Prop making

A friend of mine needed a fancy dress prop for an event. A bit of a rush job, so it needed to be ready with minimal preparation.


A Lara Croft, Tomb Raider ice axe. Printed in PETG.

My friend supplied the STL files. I decided that they needed a little bit of work. There were too many parts for my liking and split straight across, so no strength when assembled. 


I joined as many of the meshes together as I could in a hurry.  The remainder needed to be glued together.


My print bed is large enough to print most of it as one piece.

==


Saturday, 24 December 2016

Defender 'Joe' 90 on the track

I wanted to get the model of Andy's Landy finished so I could give it to him as an extra Christmas present.


I just managed to complete it. We were only 10 minutes late :-)

On display at Andy's


Before I added the door mirrors I ran it round the track.


Four wheel drive based on the running gear from a Ninco RAID car. The body and chassis are 3D printed. The roll cage and a few of the details are made from brass wire.

To compare to the real thing, here are a couple of pictures of Joe.


==

Downloads:
Defender 90 Blend file
Defender 90 STL files (zip)
Licence attribution

==


Monday, 3 October 2016

Solder tiny brass roll cage

It's probably been 30 years since I last did anything similar to this. I solder electrical wires and components fairly frequently but soldering 1mm solid brass wire to make a frame is a different skill.


I had forgotten the techniques for using a gas torch and had to experiment. After a few failures I watched some YouTube videos.


The bit of information I needed was the flux. As far as I could see, everyone uses a sticky paste flux.

The solder only flows and sticks where the flux is applied. That little bit of knowledge made all the difference. I bought a choice of flux but started with the one that claimed to be less poisonous. I got a near perfect joint first time using that flux.

I used the same flux cored solder I use for electrical work.


I also had to buy a new torch because the pen style torch I was originally using started to leak. I ordered a posh looking but very low cost butane torch. Easy to use but a bit messy to fill. I like the piezo self igniter and the push and hold button to use.

It has a lock to hold on the flame, if necessary but for soldering small joints you only need the flame for a few seconds so I didn't use the lock. There are separate gas and air flow adjusters so I could get the flame exactly as I wanted, about 10mm to 15mm (0.5") long to the centre blue flame point but it would reach over 50mm (2") if necessary.


While looking at the YouTube videos I came across other tips. Cleaning the joint area with sand paper, I already knew. One suggestion I tried was cutting a small bit of solder and laying it on the joint, stuck in the flux. That was handy on a few joints but with some practice I found it unnecessary.


My end technique was to apply the heat to the joint. Move the flame away momentarily to add the solder, move the flame back to melt the solder, wait until it flows then remove the heat. Ideally the heat should be applied on the opposite side to where the solder is to be put on but sometimes that was not possible.


The next issue was supporting the joints while soldering. That can be tricky but pretty much anything that won't catch fire can be used to keep the bits of metal together prior to applying the solder.


Being so tiny I also had a few cases where heating up one joint melted the solder on a previously finished joint. Frustrating but using a pair of tweezers as a heat sink usually solved that problem.


The model, shown in the photos for the roll cage, is a failed 3D print I had used for practising smoothing the surface. As you can see, that was handy to offer up the metalwork without worrying about damaging the paint on the work in progress.


The last job was to tidy up the joints. That was done by filing and sanding away the excess solder.

==

Monday, 19 September 2016

Thick decals

I've done a little more on the two Defender slot cars I have been working on.


I've created a decal sheet but instead of using the water slide paper, I have deliberately used normal paper.


Number plates and the aluminium checker plate used on Andy's Defender 'Joe' 90 have a visible thickness. The idea is that the slightly heavier paper will look like the thin sheets that are attached to the surface of the car bodywork.


I've fixed the paper to the model using PVA type white wood glue.

Sunday, 3 July 2016

Spray Booth

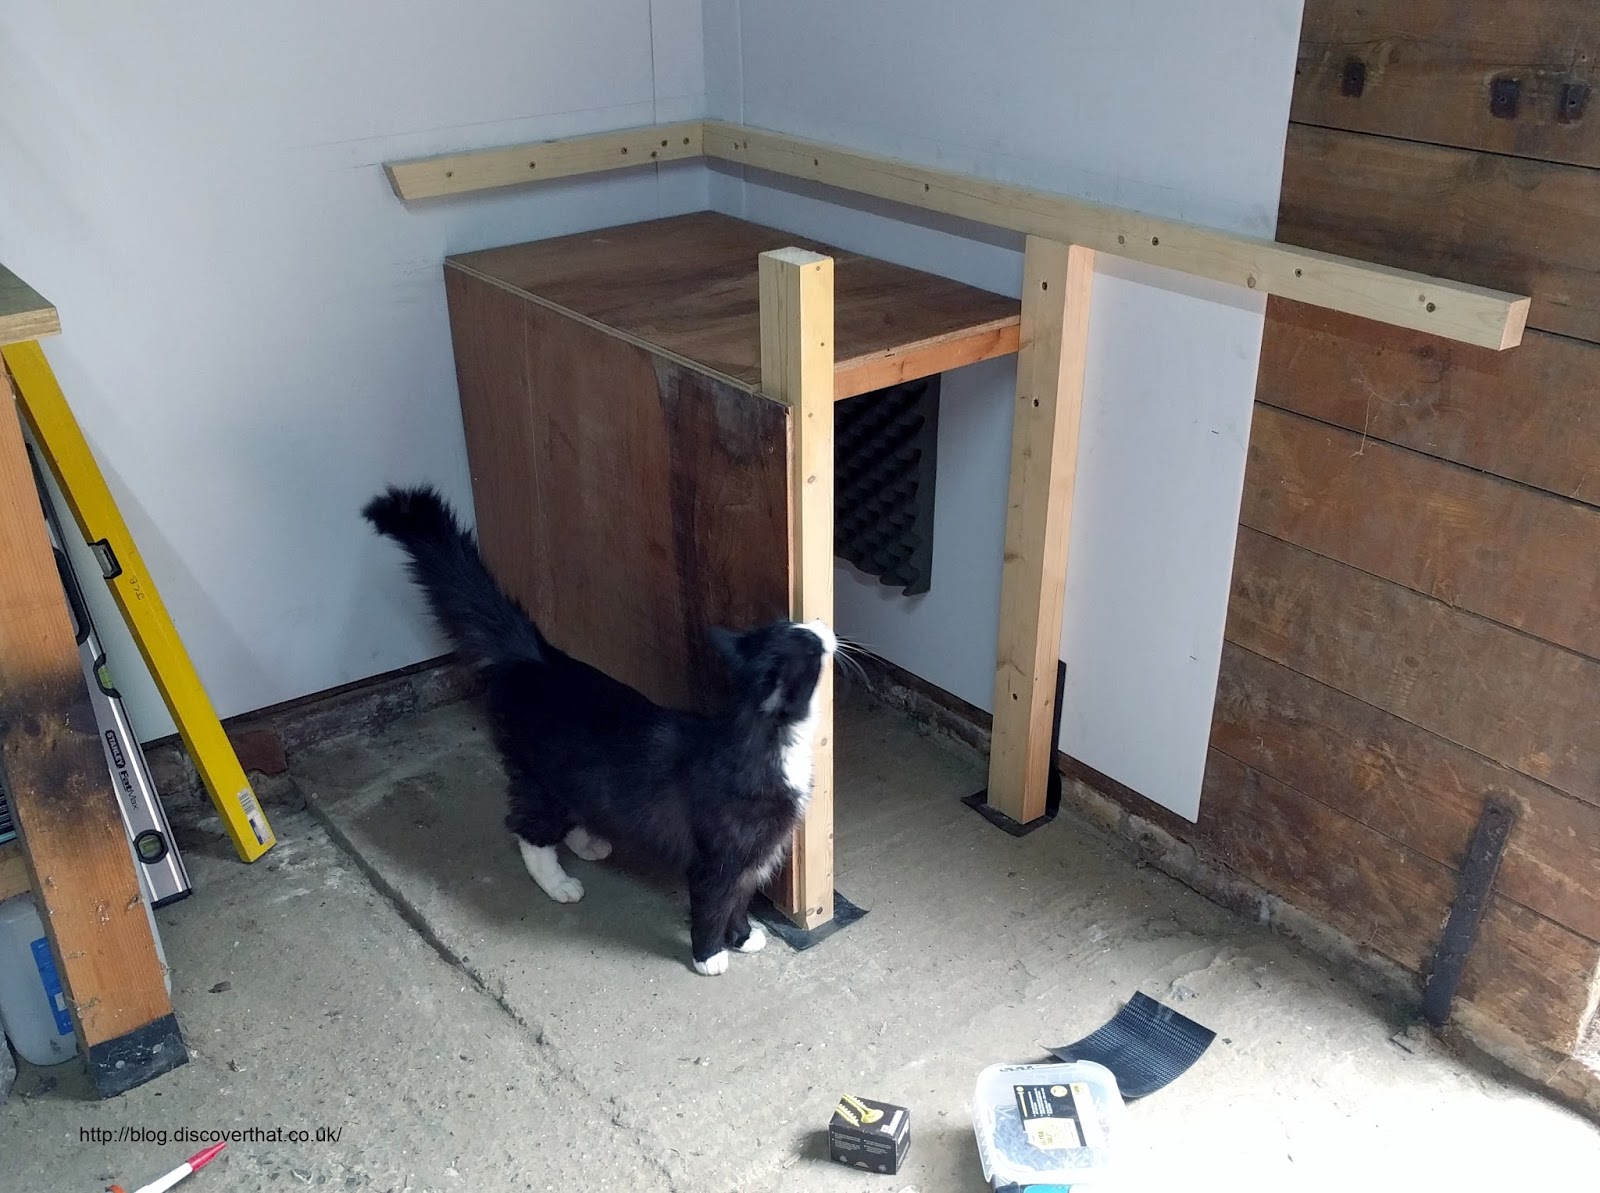
Following on from my previous post, about upgrading my work bench, I have continued to tidy up the sheds and my workshop to make space for a permanent spray booth.

I always seam to have something to spray, it could be a model, a sign or a quick coat of black to cover a repair.  It is usually more convenient to use a rattle can rather than my air brush or even my spray gun.

It takes longer to setup and pack up than I ever spend with the spraying.

Hopefully that will change.  The idea is that the booth will be clean and ready to go.


The design has evolved. I always intended that it would be constructed out of leftovers I already had in the shed. That helps with my current tidying up and making space trend.

Here are some of the designs in the order I thought of them.


Compressor boxed in under the booth

Added a shelf to store paints and bits
By this point I had built the cupboard for the compressor with the shelf under a longer worktop. 


The balance of the worktop will make space for a belt and disc sander I expect to get for my birthday in a few weeks' time :-)
Angled sides and a flip up lid with compartments
Showing the construction based on the materials I have available
How I could add an extractor fan if I need one


The end result does not have an extraction fan. Partly for simplicity, partly because the workshop is already well ventilated but mainly because the area is always full of sawdust and I don't want to draw that towards the paint work!


When sitting in front of the bench to decide the exact placement and final sizes, I replaced my fixed partition plan with a hinged wall and made the whole booth narrower to leave more space at the end of the bench. The hinged partition covers the water filter regulator and the various air tubes and allows for a larger spraying area.

Sunday, 22 May 2016

Gothic boss

The centre of the lawn mower steering wheel broke and fell out. A perfect opportunity to adorn it with a gothic or perhaps pirate style boss.


The liquid effect is XTC-3D resin mixed with black acrylic paint.


I also discovered a new technique. The PLA plastic used for the 3D print is easily formed using a normal hot air gun.


I heated up the fingers with the hot air in less than 10 seconds and the fingers stayed pliable more than long enough to form them to exactly sit on the curved edge of the steering wheel. The idea being they are less likely to be broken off if they touch the surface.