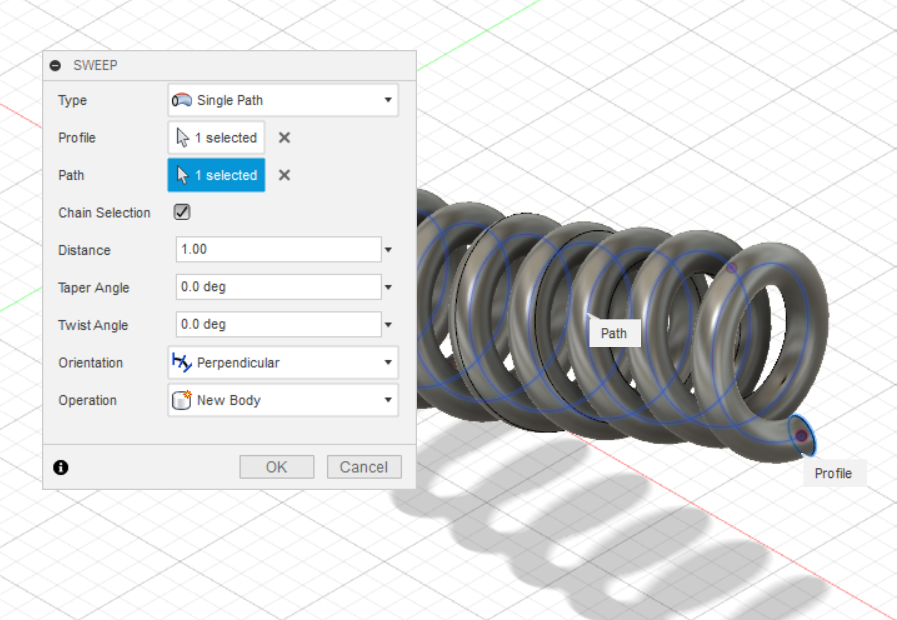
When finding out how to represent a rope in Fusion 360 I looked up 'coil following a path' this, it turns out, has a name, 'Helical Sweep.' It is more commonly used for curved springs.
Creating the rope is two helical sweeps at 180 degrees rotation to each other.
I found a pretty good video to show me how to create a single helical sweep:
https://www.youtube.com/watch?v=OudriYF_X8Y
There's no point in going in to detail, the above video explains it clearly.
As a reminder, mainly for me, here are the steps:
- Create some parameters to make it easier to adjust. [sweepRadius (mm) 10mm, Revolutions (no units) 5, twistAngle (deg) Revolutions * 360]
In model mode
- Create a path, as a continuous tangent line or curve in a sketch. It will cause an error and fail if it has any awkward kinks from one line segment to the next. I used the 'Tangent Arc' line to make a nice curve.
- Create a 'plane along path.'
- Create a sketch on the plane, just created, with a construction line the length of the sweepRadius of the coil and a normal line of any length but about 10mm worked for this model That normal line following on from the sweepRadius construction line. (I revisited this sketch to create the second coiled strand needed for the rope effect, I just did the same lines mirrored.)
Go to Patch mode.
- Create a sweep following the path, with a twist angle set to the variable twistAngle. That gives a flat helical shape.
- Create another sketch on the front plane, including 3D geometry.
- Select the inner edge of the included 3D geometry to create another path.
- Create another plane along path, selecting that helix. Move the plane to zero on the path.
Back to the model mode
- Create a sketch on that plane, with a shape centred on the start of the point of the path, usually a circle but could be any shape.
- Select the shape and create a sweep along the helical path.
I needed two of these coils intertwined to make a nice looking rope.
I used the same sketch for the sweep radius but created another construction line and normal line in the opposite direction from the centre.
Using the same spiral sweep I created another coil.
I needed to patch the patches and stitch them to make them both solid models. I adjusted the diameter of the strands until they just merged, which was 20mm.
I textured them using 'weathered leather,' as that was the best I could find to match a hemp type rope.
==
For the parameters I ended up with:
sweepRadius = 10mm
Revolutions = 5
This was over a 300mm length of rope.
Each of the two rope strands was 20mm diameter.