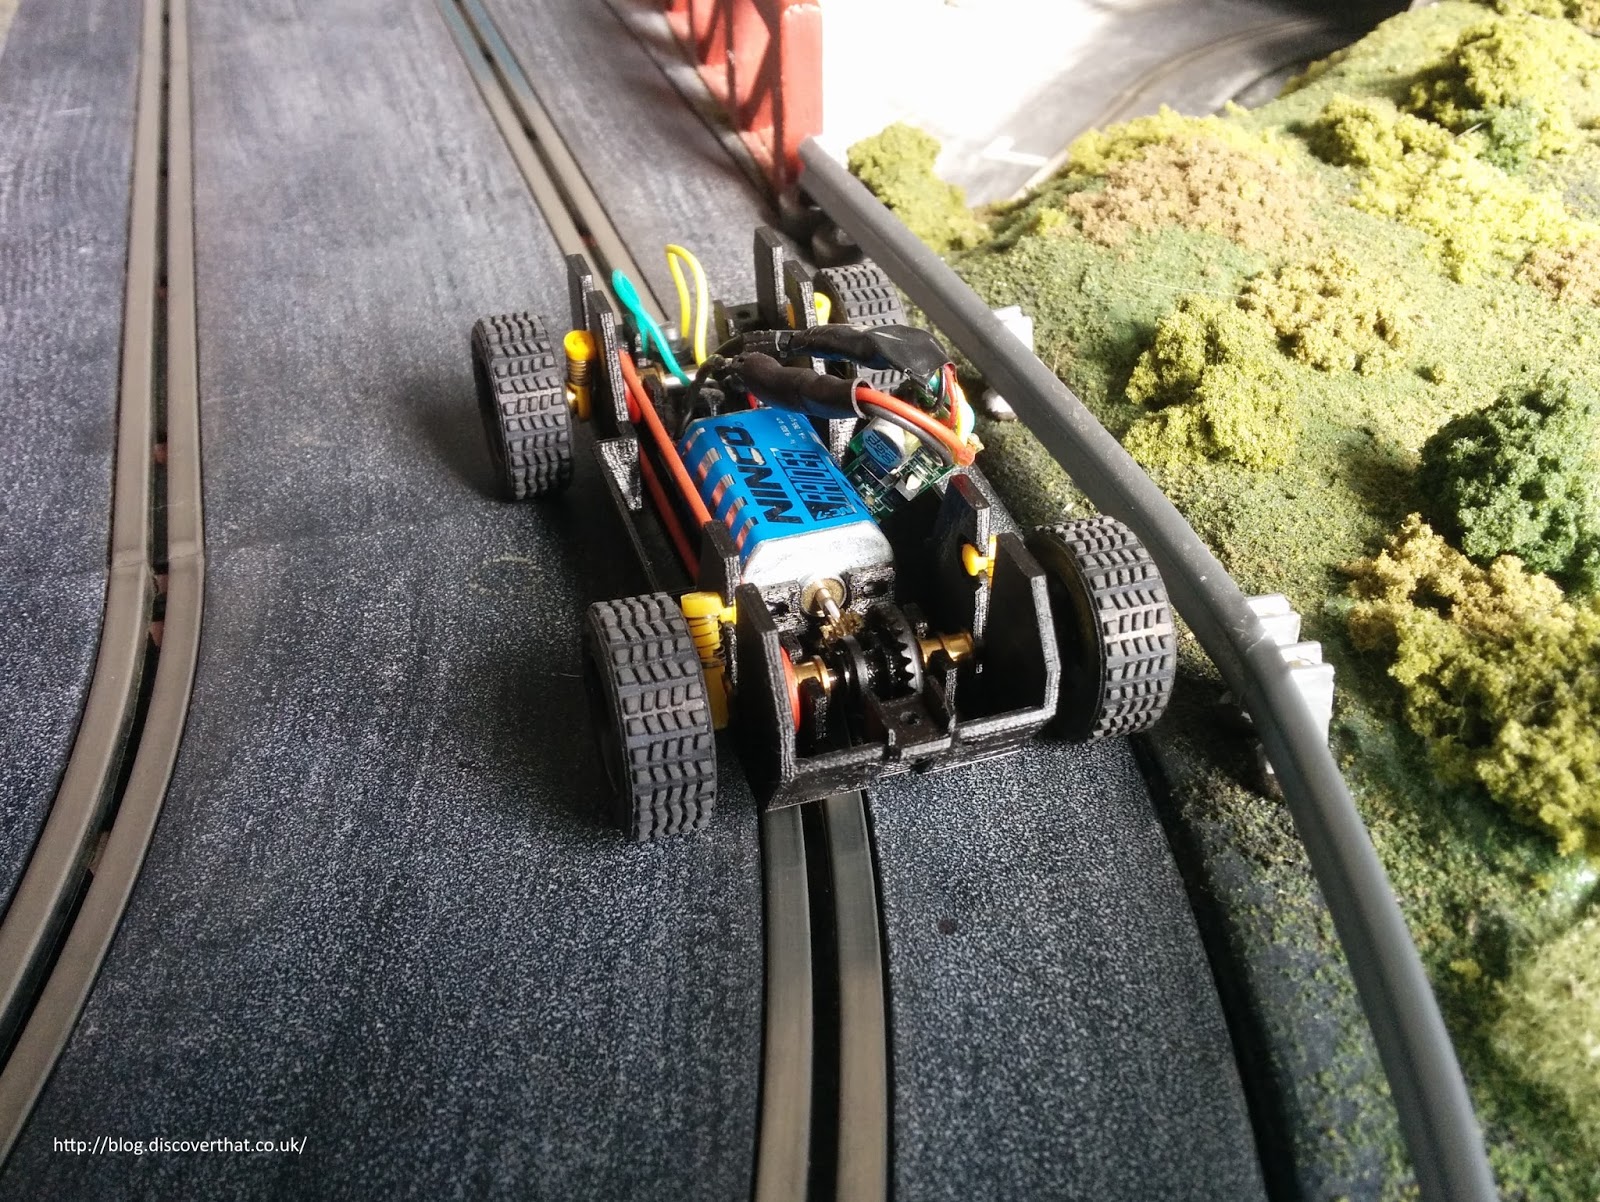
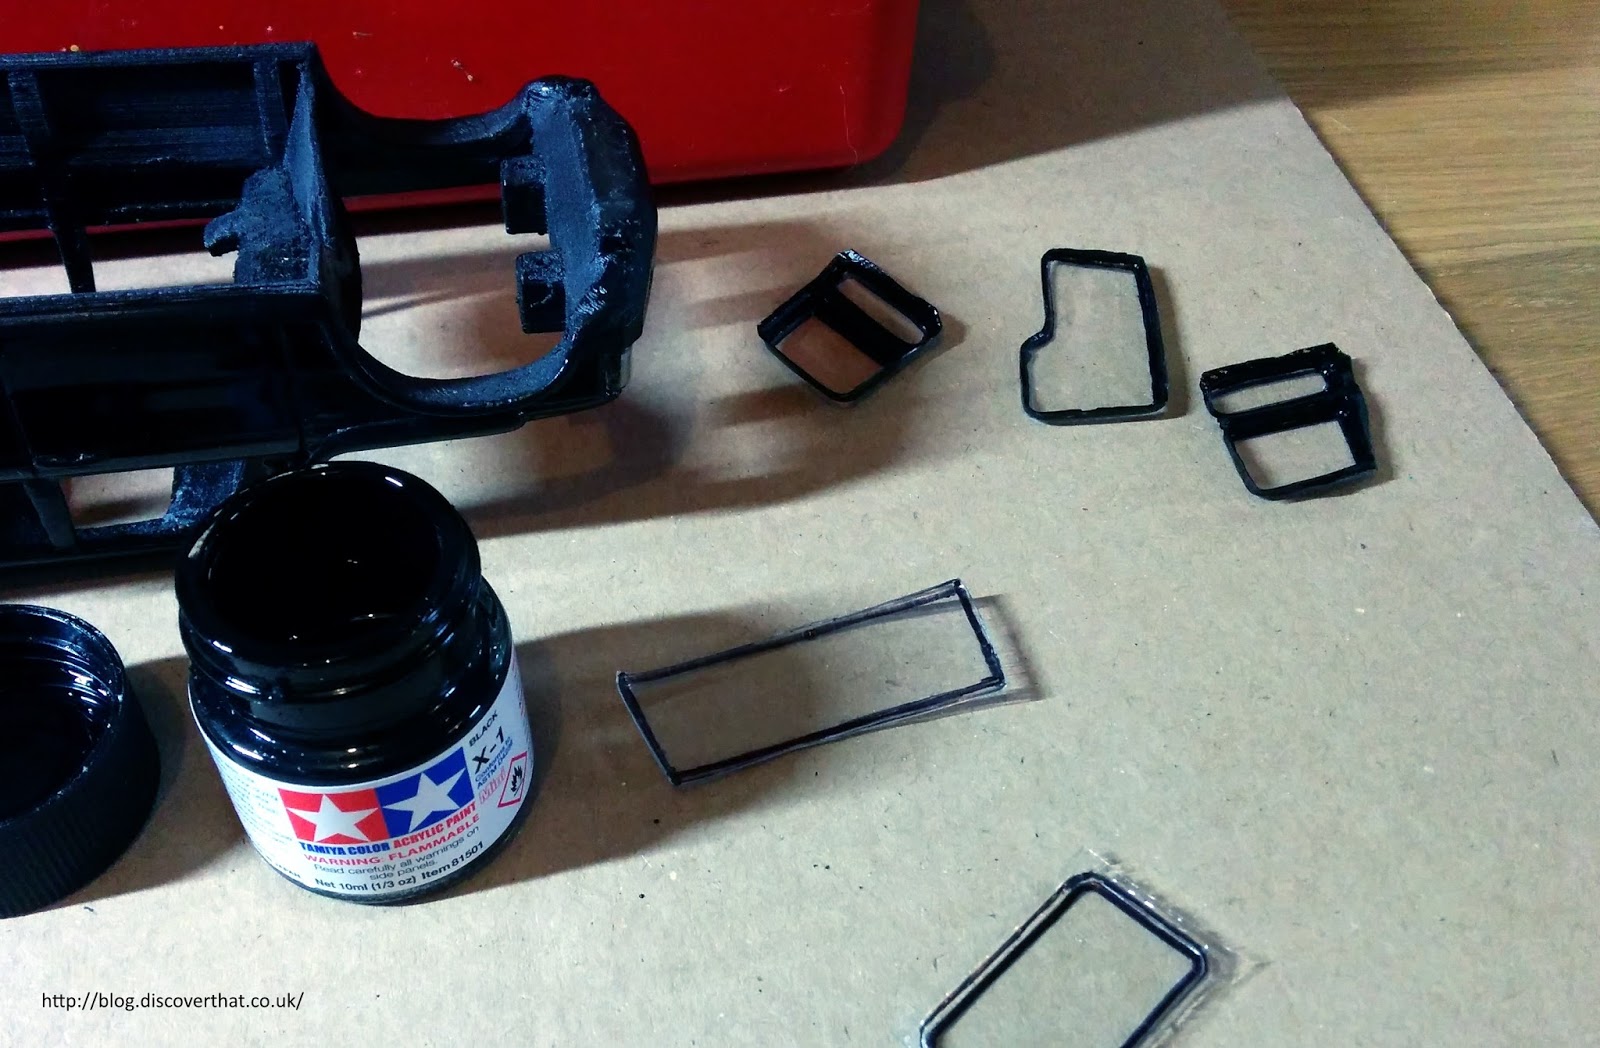
It's taken a few attempts but I have a working 3D printed chassis ready for the Defender model I am working on.
I needed to get the chassis done first so I could align the body mounting posts.
The chassis uses Ninco components and is just a shortened version of one of their chassis.
I could not hope to come up with a better 4 wheel drive system so I modeled the chassis in 3D and reduced the length to fit the model I am making.
It took a lot of minor adjustments to finally get a design where all the bushes clipped in without the plastic breaking and for the suspension to be able to fit. The PLA filament I'm using does not have as much flex as a typical Ninco or Scalextric chassis so I had to take that in to account. The plastic also oozes slightly where I'm asking it to print very thin parts so my accurate measurements needed to be corrected with trial and error prints.
Ninco have some very neat features. They use the solder tabs on the motor to stop the motor spinning in its mounting. I have replicated that however I wanted to keep a symmetrical model but the motor mounts are not. I therefore included break off tabs that can be easily removed from just one side.
I kept the supports to a minimum so there is not much cleaning up to do before the chassis can be used. It does need a 4mm drill to remove the support material from the hole for the drop arm spring. The whole clean up from print to ready to use takes less than 5 minutes using just a 4mm drill, tiny side cutters and a box cutter. I also use a needle file for some tidying up but that is hardly necessary.
Most of the components come from a
Ninco Bowler Nemesis that has been available at a lower price than other Ninco Raid cars. The drop arm is the
shorter Ninco arm that can be purchased as a spare part. In fact all the Ninco bits can be purchased as individual spares but if you want the wheels as well then it often works out cheaper to buy a complete Raid car.
I managed to find a
belt from a truing machine that is about the right length. It's a bit tight but will do for now. (Edit: August 2016, I now have a 1.2mm x 52mm diameter square section belt that fits better. It's probably from a cassette deck)
Conveniently the drop arm pivot is 2.38mm (3/32"), the common size of axles on many slot cars. I cut down an axle to 15mm long and it clips in nicely.
The centre section of the chassis is deliberately wide enough to fit the Scalextric C7005 SSD circuit.
I don't want to have to buy a
Scalextric SSD chip for every model I make. I have come up with my own connector where the IR LED can remain in the car but the circuit can easily be removed.
I used
commonly available header pins and sockets for the connectors. The connectors have 2.54mm (0.1") spaced pins. The ferrite men (capacitor, ferrite filters) are attached to the removable chip so only need to be soldered on once per chip not in every car.
The motor header pins are a separate pair and the guide pickup wires deliberately have a header socket. This is so they can be connected together for analogue use. The connector is also reversible making it much easier to get the car going the right way.
The test on the track worked very well.
==
Where to buy?
If you plan to buy any of the things mentioned on this page, please consider using one of the following links as they pay me a commission:
1.2mmx52mm Drive Belt
Header pin strips