First off, I offered up all the parts and trimmed them to fit where necessary. Then glued on the roof.


I wanted the roof on fairly soon because it gives the thin pillars a lot of extra strength.


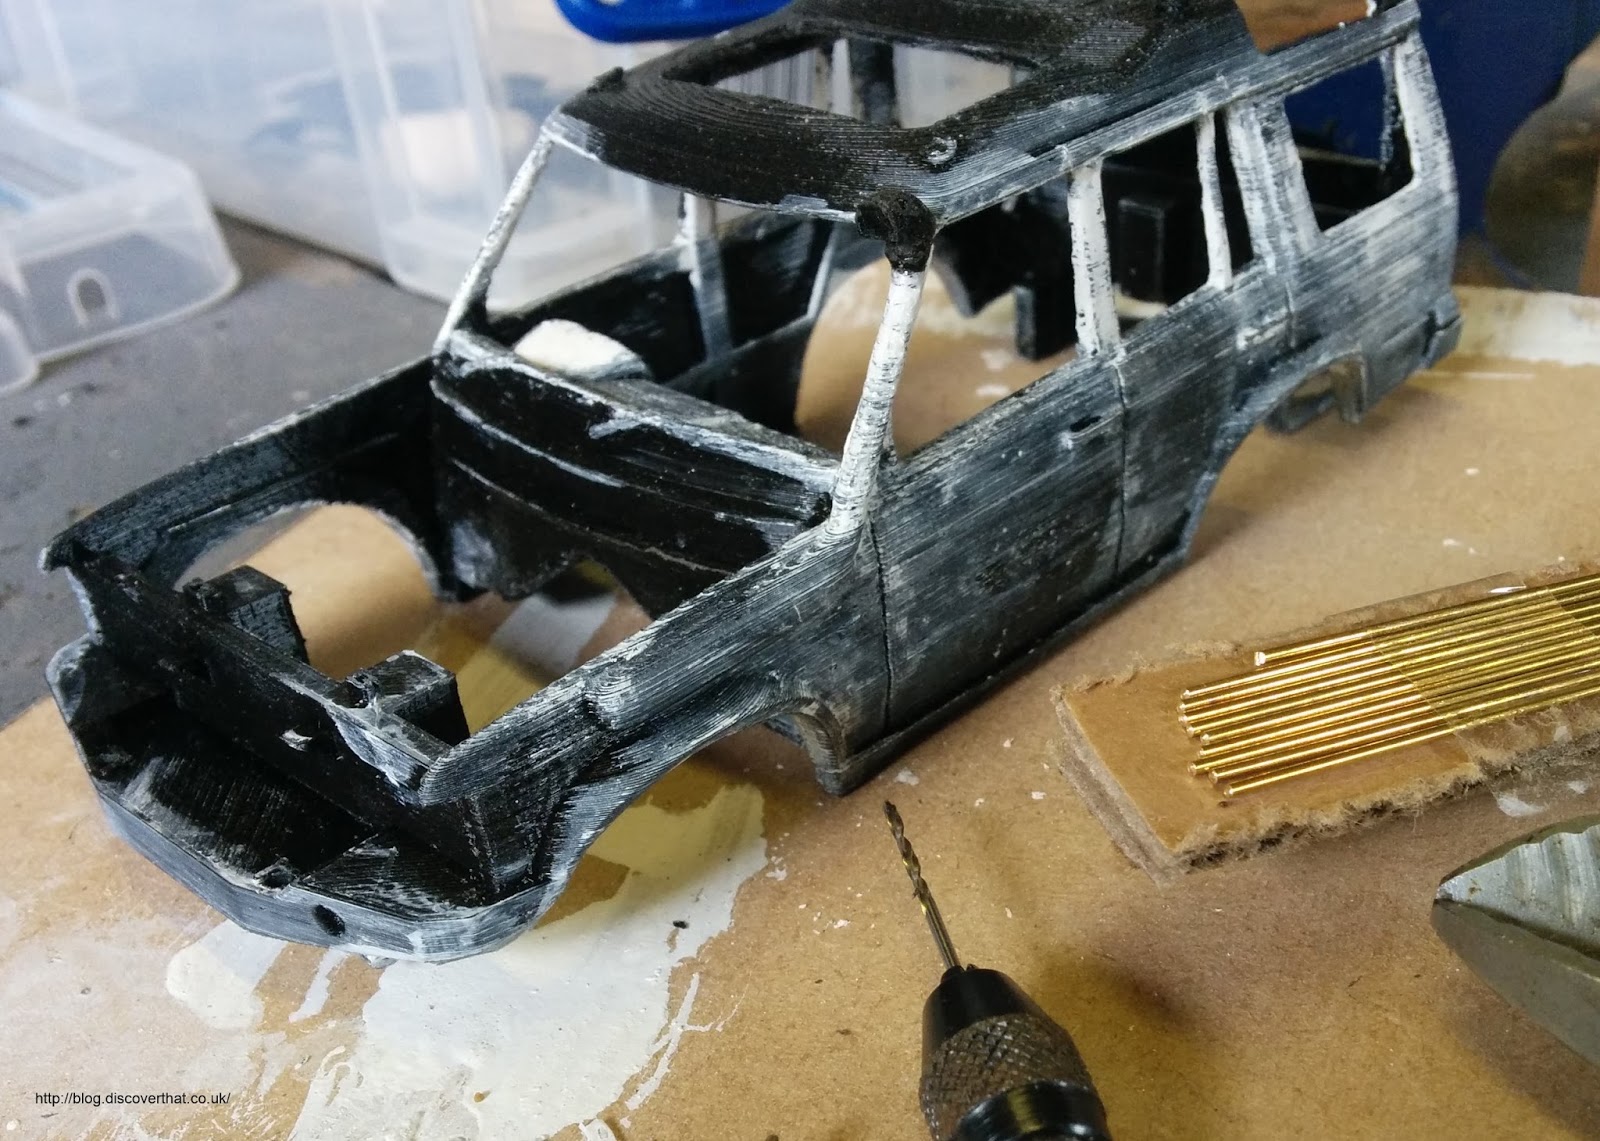
I used Milliput to fill the fine edges round the windows and rear lights. This is where the rows of melted plastic from the 3D printing process end and are most visible. I also fitted the top of the raised air intake using a small hole and a brass dowel to keep it in line.
I built up the paint with three thin layers at a time, wait 24 hours then sand down and repeat. I've done that twice with the high build primer and once with gloss black paint. The trouble is I am now starting to loose some of the fine detail.

I will probably reprint the bonnet, as it is still separate, because the bulge detail has been completely lost after sanding. I will also print it at a smaller Z thickness. I deliberately printed the body at 0.12mm to minimise the number of lines on the vertical surfaces however I used the same settings on the horizontal roof and bonnet not thinking that this would leave noticeable steps. My printer can go down as thin as 0.06mm layer thickness, so I will try that on the bonnet.

The paint plus the Milliput made the already oversize mullion on the rear passenger window a bit too prominent. I decided to cut this off and add it back as a fine painted line on the windows.


Before finishing the painting I've added the roof bars. I left the stub ends of the bars on the 3D print attached to the roof with a groove for the brass rod. After sanding little of that is left. It would have been easier and stronger to have a smooth roof and fit the brass rod for the roof bars in to holes. Either way I'm still going to have to form the ends from glue or Milliput or both.
Summary of lessons learned:
- Exaggerate the depth of any fine details so they are still visible after sanding.
- Don't try to add fine window mullions, just paint those on to the glass.
- Don't include tiny details that could be molded with Milliput or fitted afterwards.
- 3D Print curved near horizontal surfaces with as fine a detail as possible (Z = 0.06mm.)
No comments :
Post a Comment