I picked up the doors from
KTR Automotive on Monday evening. Tom has done an excellent job with a satin black.
I need to transfer over the various workings and components from the existing doors.
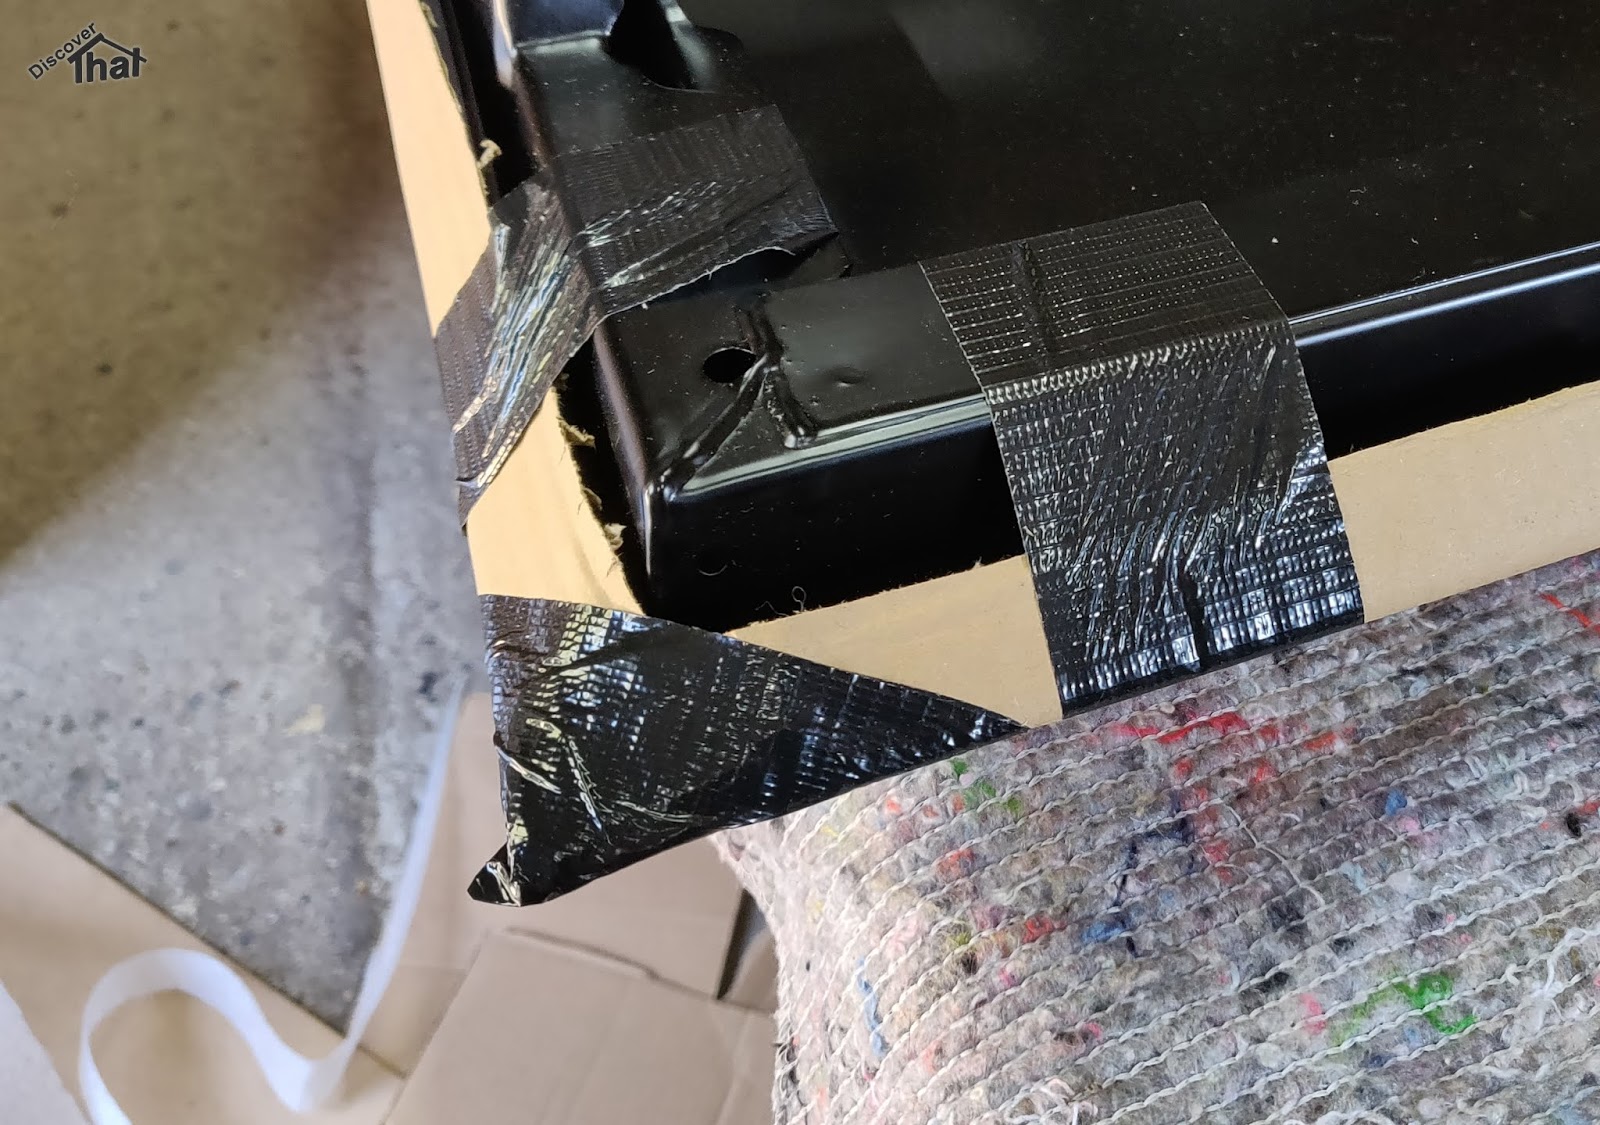
Before doing anything, I've protected the bottom edges with some card and the top with some foam wrap to make them less vulnerable while they kick about in the workshop and sheds until I get enough time to do all the work.
The jobs this weekend included:
Fitting sound deadening pads to the largest panel areas. Most cars have these. It's just a stuck on pad I bought.
Filled the steel sections with Dinitrol ML cavity wax. Although I have the compressor version I bought the spray cans because they have a smaller nozzle than I could find for my Schutz spray gun.
The longer hose allowed the can to stay upright while spraying inside the sections.
Lastly for this weekend I made a bracket not supplied with the door panels.
I don't know enough about all the variations of Defender doors but on Fender, this bracket is welded in place. In the replacement doors there are two nuts welded in the steel frame. My guess is that from probably TD5 and newer, the interior steel panel is a different shape and bolts directly to the frame.
I am very glad I got the throatless guillotine recently, it made the job of cutting out the steel sheet very easy.
I was going to make a cardboard mock-up first but after having drawn up the plan I was confident enough to cut it from that.
It's made in two parts so the second layer will help prevent the bracket bending.
The second layer is held at both ends by the bolts. In theory, once bolted up tight, the two parts are trying to move against each other so it should be more difficult to bend than the flat steel on its own.
I did modify the design as a went. I cropped a little off the side, at an angle, because I was concerned that it might catch on the door card.
I think the door cards will need a little trim to accommodate the thickness of the metal brackets.
That's it for now.
==
Related articles:
https://blog.discoverthat.co.uk/2018/11/fitting-defender-front-door.html
==