I decided to do it in easy stages over a couple of days.
Obviously, I'm not doing this for fun. I have the usual problem of a leaky roof. No matter what the cause the cure requires access behind the headlining. Some people do it without fully removing the roof lining but I wanted to get a good look.
I'm not sure if there is another way but I started at the rear of the car.


First job is to pull off the plastic panel above the rear load space door. In my case this has the cutouts for the 3rd row headrests. More about those in a minute.

The long panel is secured with 4 metal clips. It is just a case of pulling hard enough, straight out towards the front of the car. A large plastic trim removal tool might help but I did mine by hand.

I believe that you could get the headlining out without removing the 3rd row headrests but I wanted to remove them permanently as I have decided to get rid of my remaining rear seat to make more boot space.
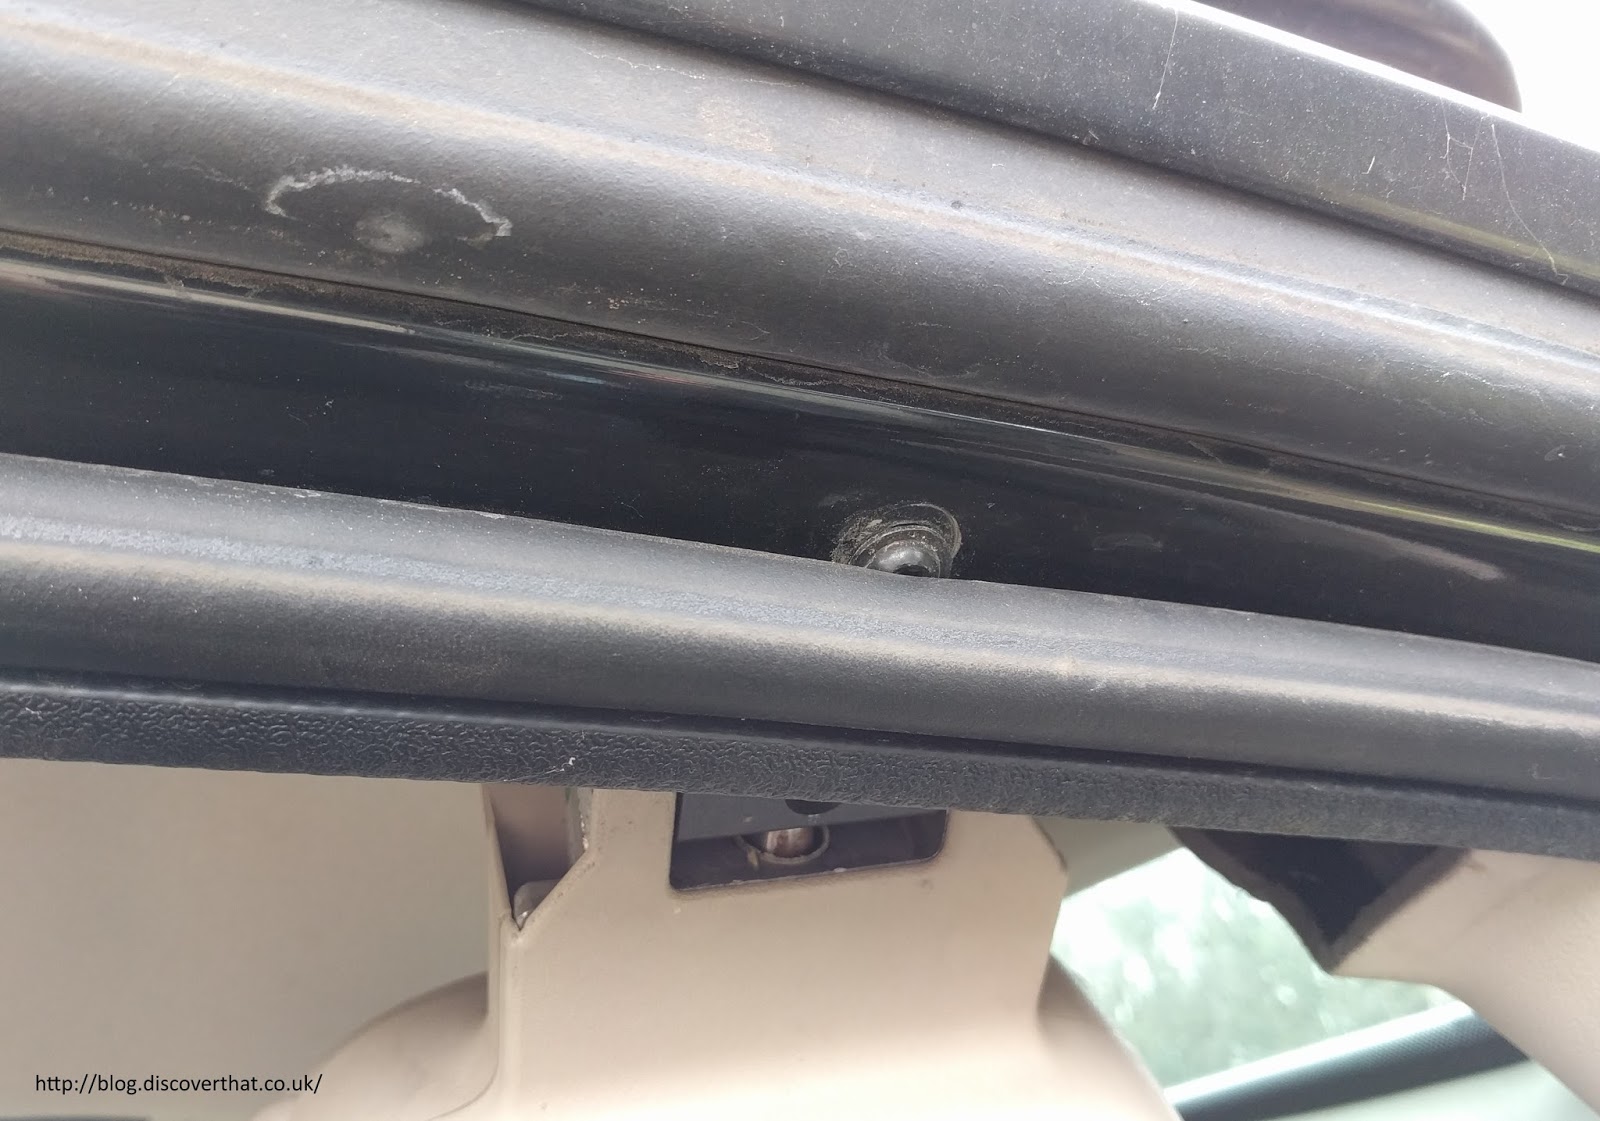
It took me a while to work out how to get the headrests out. Two bolts on the inside are obvious but it took me a while to realise there was a bolt accessed from the outside partly hidden by the rubber door seal.

Once I removed the third bolt the headrest came out easily. There is a small pin that continues to hold it up until you pull the headrest forwards slightly. I assume it's only purpose is to help locate the bracket when fitting.


Watch out for the plastic spacer behind. It's all too easy to not notice them and for them to fall out.

The spacer is only present on the two load space grab handles.

I could have done this in any order but I removed the screws either side of the window next.

They are supposed to have plastic screw head covers but mine had long since lost those.

There are a few fir tree clips. Easy to spot. I strongly recommend getting a set of trim clip removal tools. It makes the job so much easier.
There are only two sizes of trim clip used on these rear quarter panels. The longer ones are used by the load space door frame.

Clip out the alarm sensor and tuck through the hole.


Pull off the cover behind the 2nd row seat belt upper bracket.
Before you go any further I strongly recommend wearing some plastic covered gloves. I use the PU palm coated type.
Behind the panel is some form of fine fiber, I assume glass fiber, that invisibly sticks in your fingers and irritates.

If you have removed all the fir trees and the few screws you should be able to gently pull the panel down and away towards the centre of the car. There is one hidden clip on the C pillar which just pulls out... or breaks off depending on your luck.
If you have the 3rd row of seats, the panel will still have the 3rd row seat belt passing through it.
Depending on what job you are planning to do you can leave it as is and work round it or fairly quickly remove it.


To completely remove the panel, just pull off the plastic cover from the seat belt bolt on the fixing inside the load space, very near the opening. Unbolt it to free the seat belt so it can be passed through the panel.
As mentioned, I plan to remove everything related to the extra seats.

That's it. Once you've done both side the rear quarters are naked.
More tasks to follow when I have done them.
No comments :
Post a Comment