


==
When I first moved my tools to the roller cab., I 3D printed some racks for the long sockets that I have, but I have only now got round to finishing them off by 3D printing the labels to go with them.


==
Just a nice to have rack for my paints. I like to keep the paints I'm currently using separate from my main rack, so that I know which colours I'm using without having to write them down or keep track in some other way.


As I work in front of the spray booth, it is very handy to be able to lift all of the paint pots out of the way quickly when I want to spray paint something.
Update: August 2026

I'm now on my third version. I found I needed space for; a few more paints, the bristle protector tubes, some pins to clear the bottle nozzles, a pen, a pencil and tweezers. This most recent tray, for no useful reason other than cosmetic, is the same size as the wet pallets that I use, 200mm x 150mm.
==
As I mentioned in an earlier post, it's been about 30 years since I last painted a miniature figure. Then it was orcs, knights, and wizards.

Now it's a sci-fi soldier.

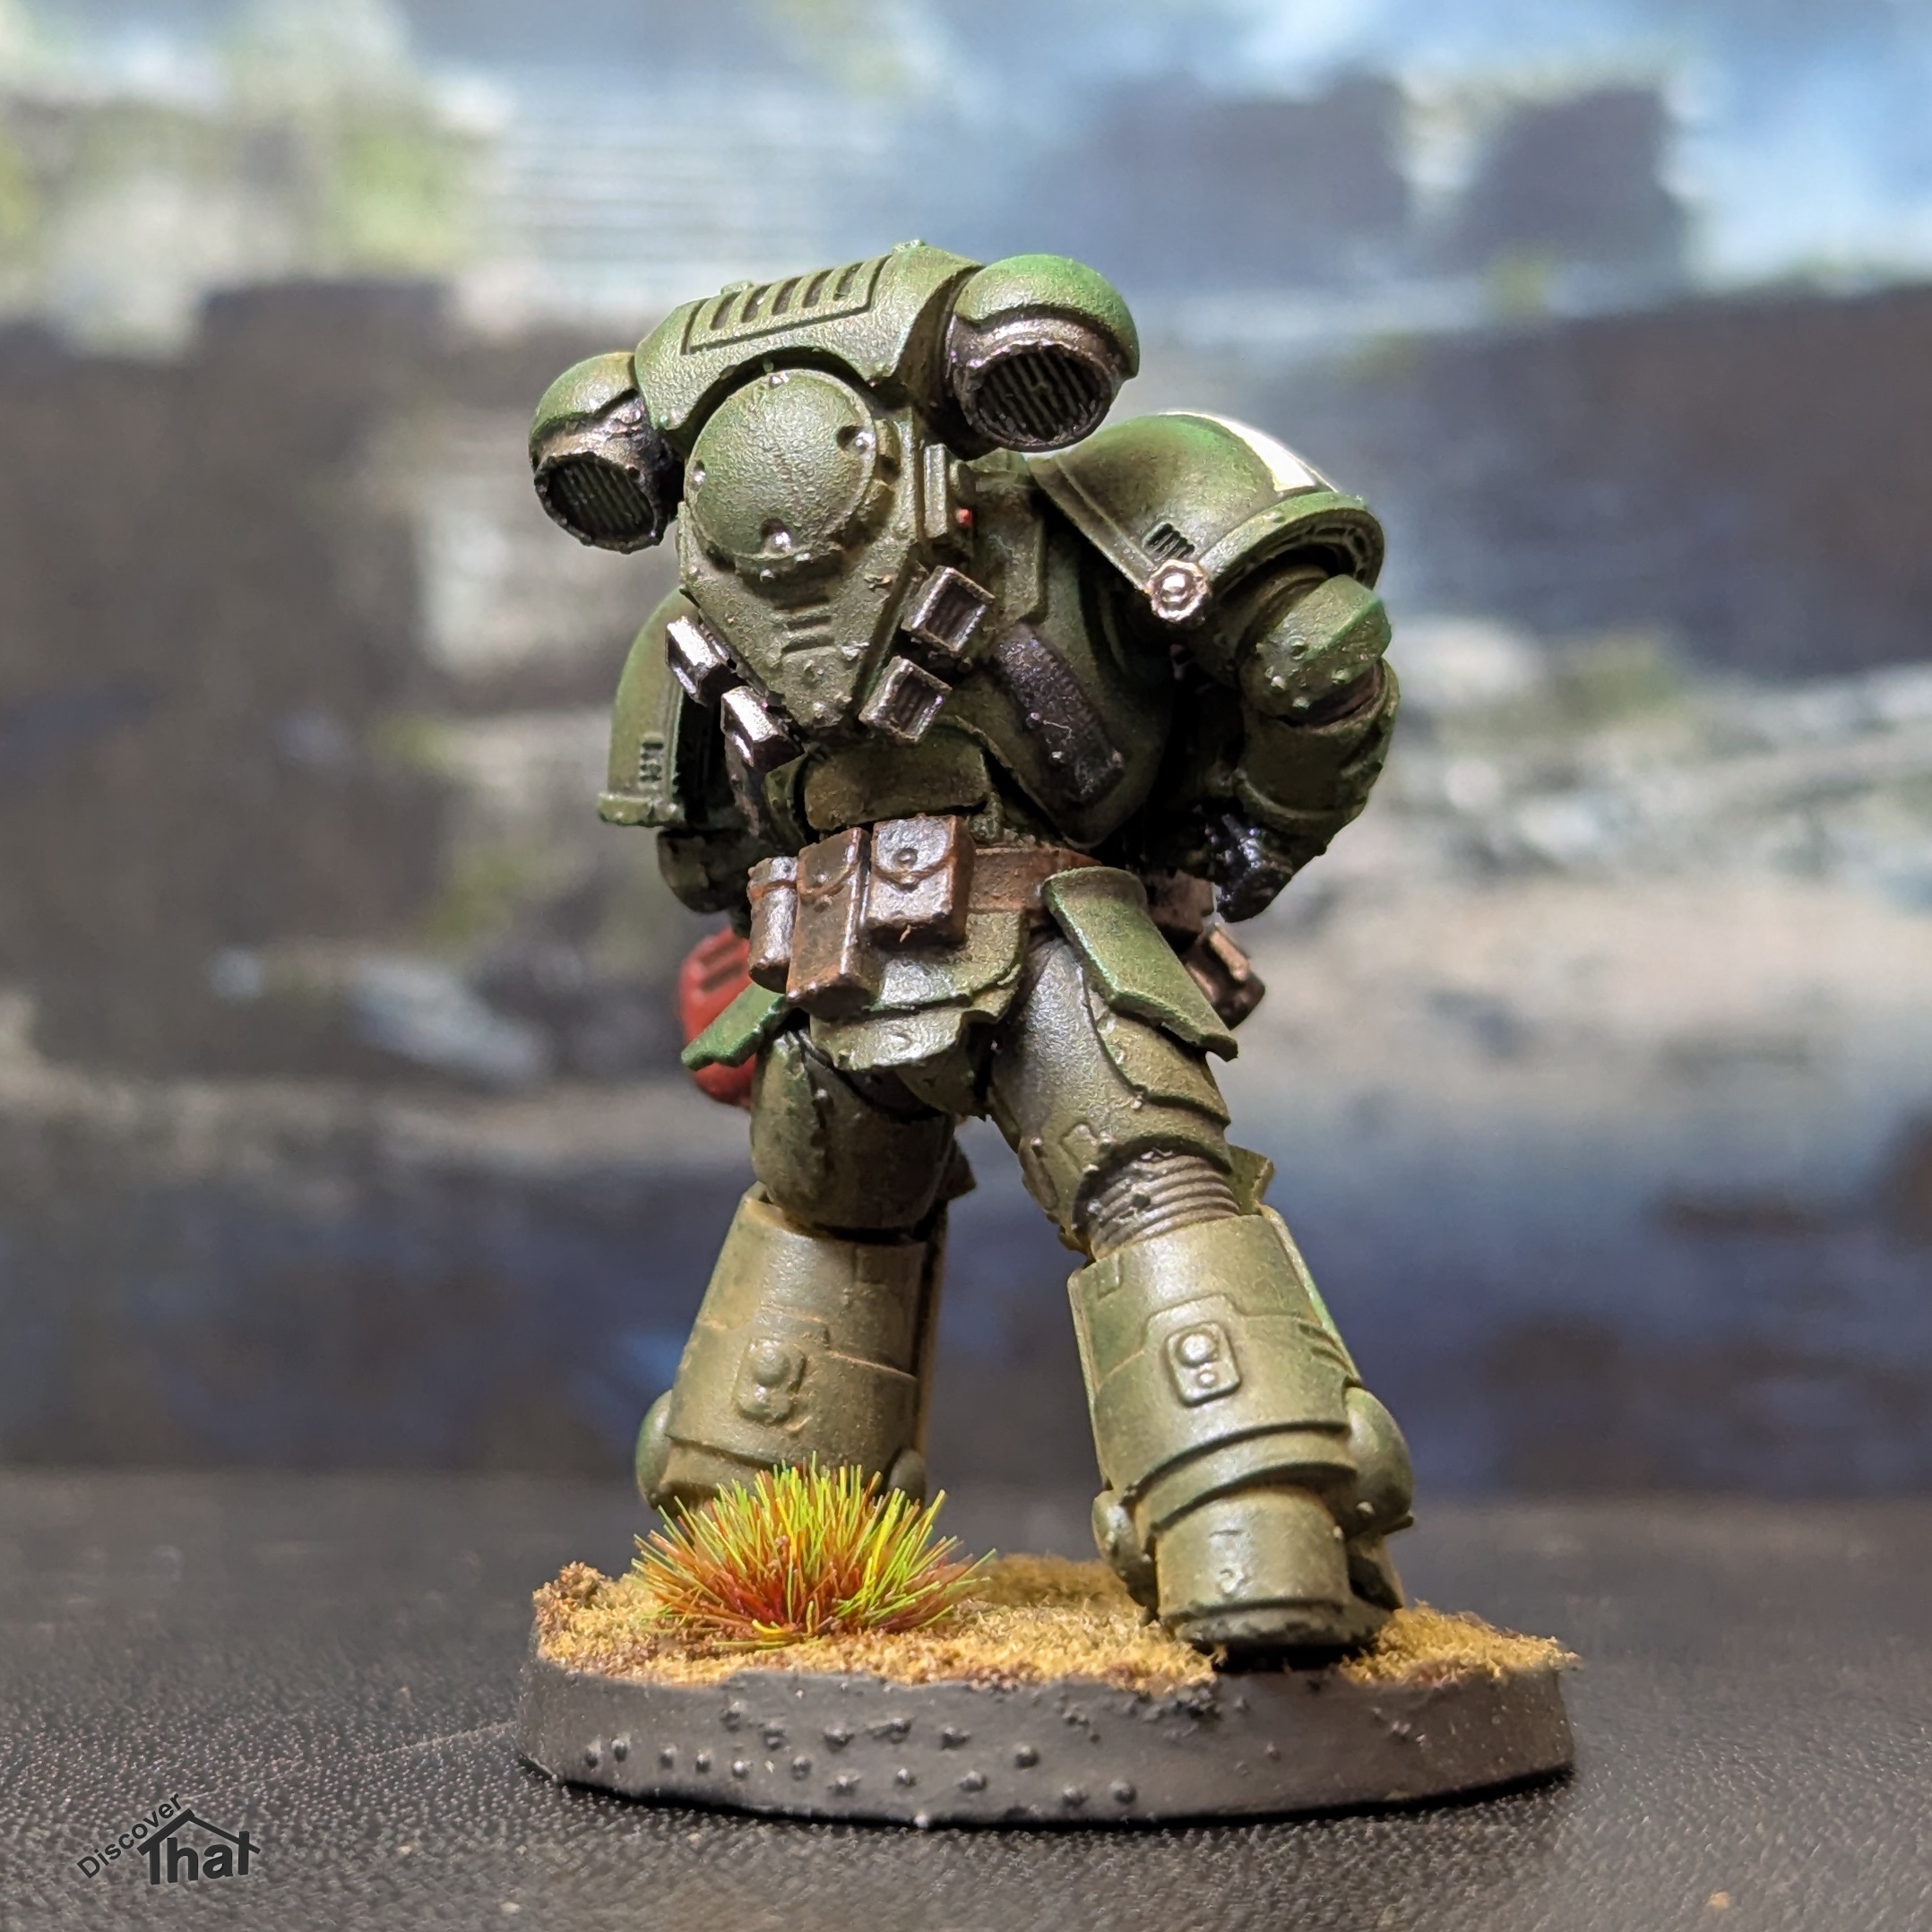
I'm also experimenting with how to photograph them. I'm using a long exposure on my mobile to get a better depth of field. Without it, the extremities of the model are out of focus.

==
I've been refurbishing a used Lenovo laptop. It's still more than good enough to run Windows 11, but it is looking a little worn having been a former work machine. The main thing required to get it up and running is a new CMOS battery and to make it more serviceable, while I have the laptop open, I also replaced the main battery.

I bought a reasonably priced replacement battery for the CMOS, making sure it had the correct JST connector used on Lenovo laptops. However, when it arrived, I spotted that the pins on the plug were wired in reverse.
 |
| Wrong on the left |
It was a fairly easy job to release the pins from the socket and swap them over.
 |
| Corrected |
I used a needle to lift the plastic clips, being careful not to short between the two pins.
 |
| Before |
Job done, inserted in the laptop and all working.
==
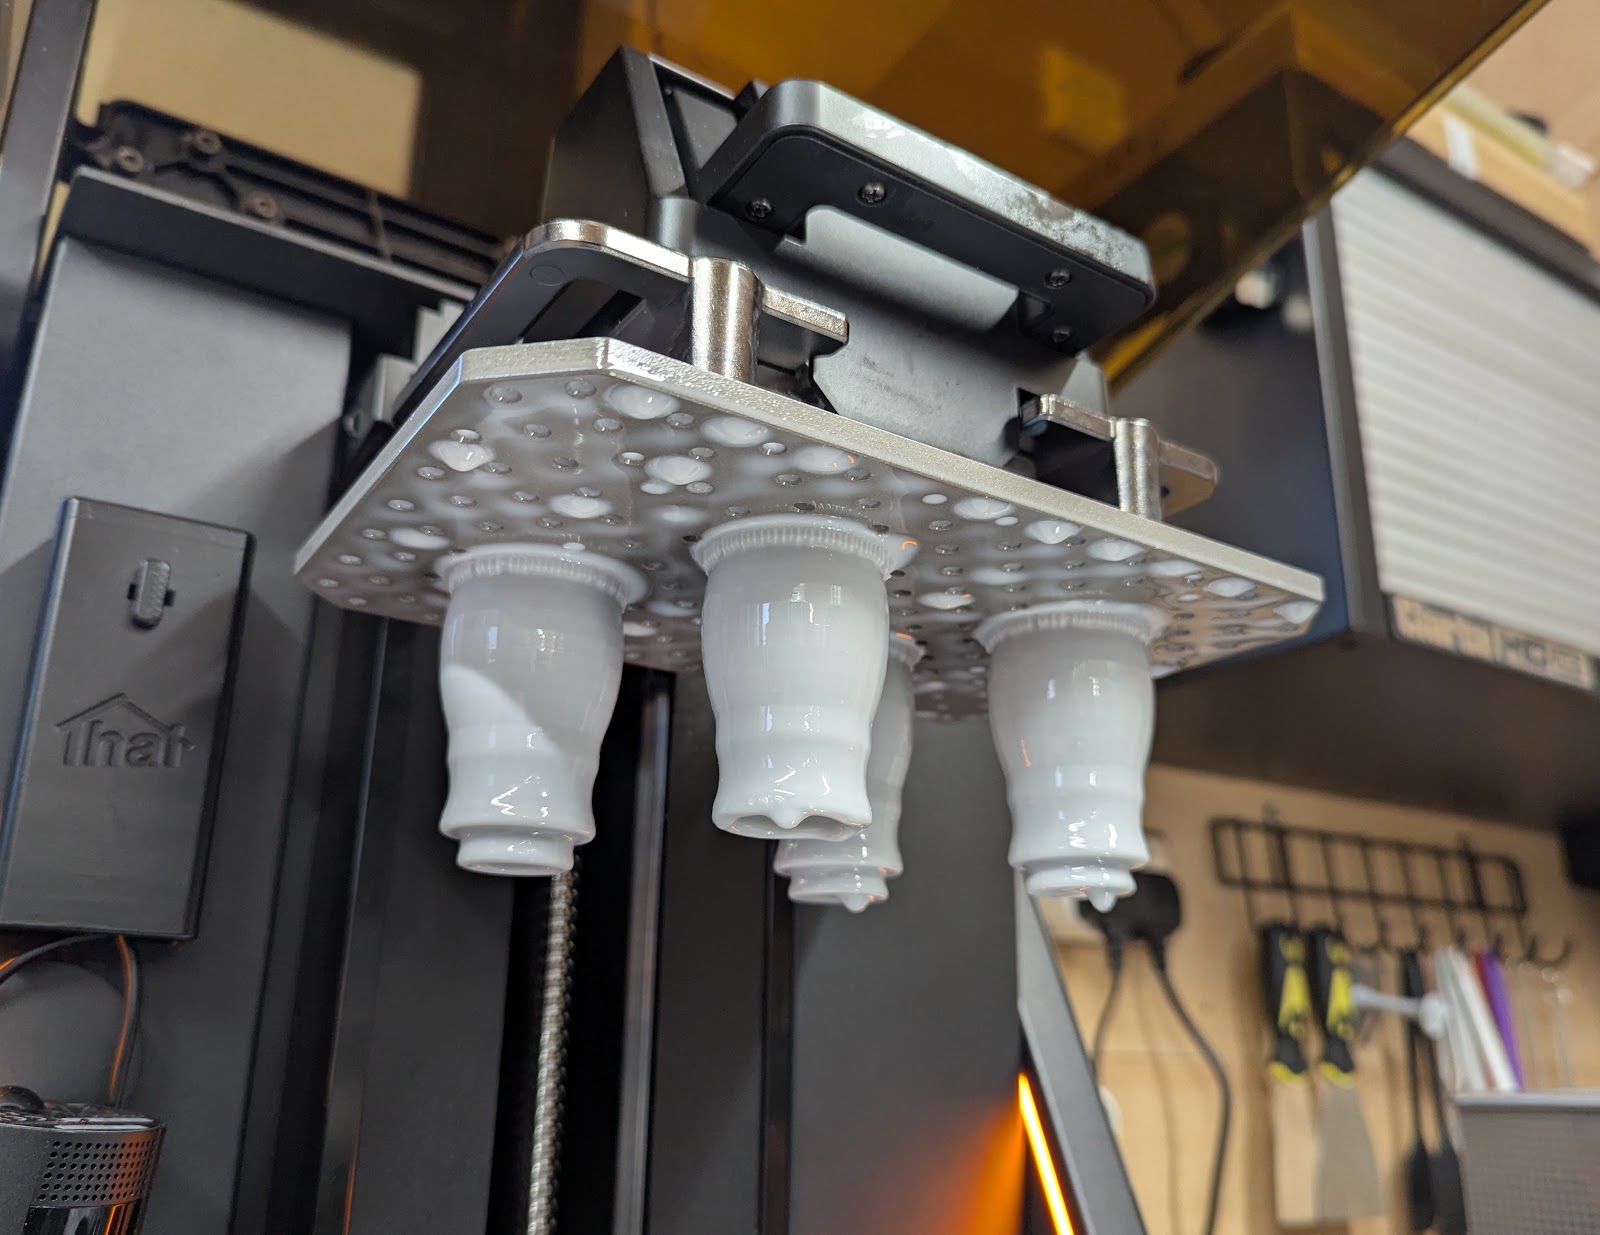
I've designed and printed my own painting handles to help hold the miniatures that I recently started to paint.

When I used to do this, 30 years ago, I awkwardly held the bases, because I didn't know any other way. More recently I tend to fix things that I want to paint, on to bits of timber, often using sticky tack (Blu Tack, White Tack, etc..)
Catching up with modern trends, I see most people using a comfortable looking handle with the miniature clamped or stuck in place.
There are a number on the market or available as 3D print files, of various shapes and sizes. Some with added features, like finger rests and clamps. I have bought a Citadel handle and that is great for miniatures with some shapes of bases but it is not really versatile.
There was no one handle that stood out as being exactly what I wanted. Of course, that led me to come up with my own.

I've now had the opportunity to use my own take on a handle and it was exactly what I hoped for. In use, I did not think about the handle and was easily able to move the model into the position I needed.


Magnet Variant
A holder using a 16mm diameter x 5mm deep magnet, held on using a countersunk M3 nut and bolt. [Update Feb., 2026: I'm not sure how useful the magnet handles will be now that I've added magnets to the bases of the miniatures.]
Cork Variant
A version that fits a cork, so wire can be pushed into it.
Flat Top Variant
The one I expect to use the most, a flat top for sticking things to it. [Update Feb., 2026, I have added steel discs to the top of all my flat top handles to accommodate models with magnets in their bases.]
==
Update April 2025:
I've added a couple of versions to hold larger models.

Download:
Painting Handles STL and STEP files (zip)
==
Update Jan 2026:
I prefer a slightly heavier feel to the handles. In resin they have a nice weight because without any changes, the result is solid. I've now printed some from the filament printer deliberately using a solid infill. I prefer these to those I originally printed.
Update Feb 2026:
I have started to add magnets to the bases of all my miniatures to make them easier to transport. I've added steel discs to my painting handles. This makes mounting and swapping the models much quicker.


The discs are attached using superglue (CA.)


The magnet holds the model sufficiently to paint, but I need to steady the base when dry brushing. This is still much more convenient than mounting the model using sticky tack.
==
This evolved out of a comment made about remembering to help out a neighbour on the way home every Monday. I could not resist coming up with a solution.


It was quickly thrown together, over a couple of weekends, using an off the shelf 12V timer that can be set for times and days of the week.
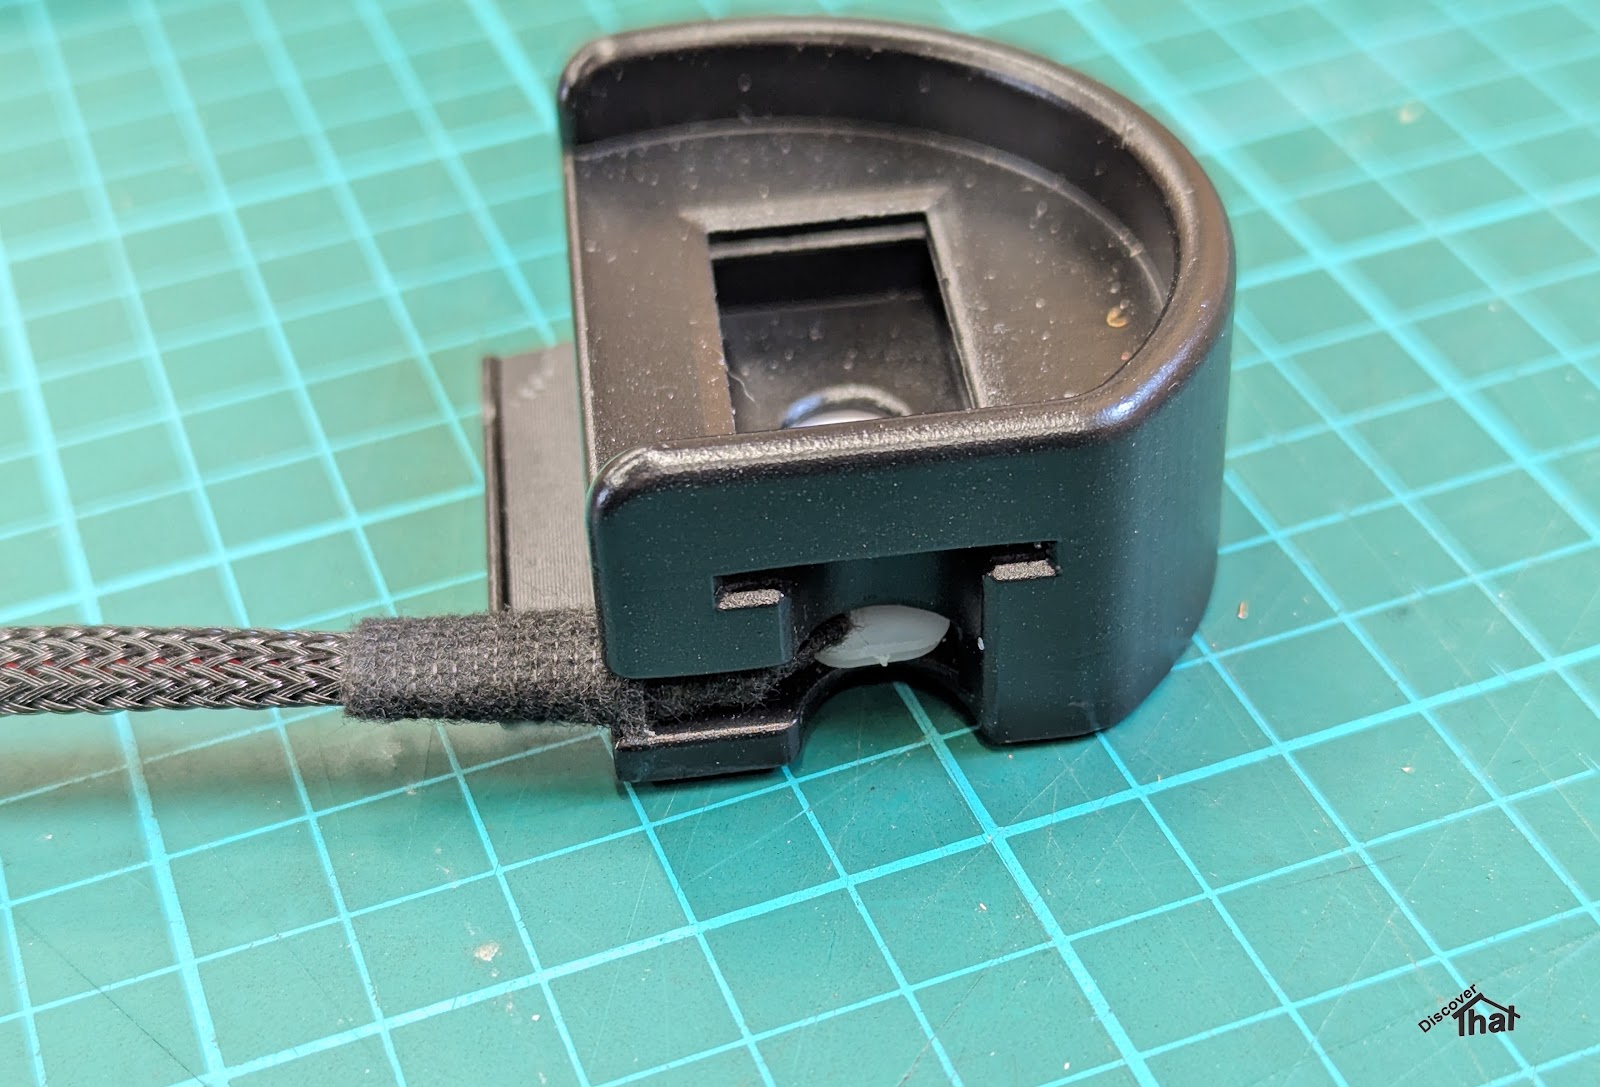

The timer fits on the shelf next to the steering column. As always the longest task was taking the dash apart to find an ignition switched feed and an earth.

==

