Search This Blog

Sunday, 24 May 2015

Chimney Perch

Our attic room is a bit small as attic rooms commonly are. It has a chimney breast in the middle making the room a 'U' shape. Fitting chairs in there is difficult. We can only fit one.


With the Scalextric track in there it was difficult to sit anywhere so I've added a bench seat attached the chimney breast.


A few bits of timber from the shed, some foam and some leather I had bought to cover a chair.


Fixed to the chimney with some frame fixings.


Saturday, 23 May 2015

Crash Barriers

The Armco style barriers from Scalextric and other manufacturers have always appeared oversize to me.


I assume this is because the extra height is needed to stop the cars careering off the track and over the barriers.


I don't mind this but when put in front of scenery it blocks out the view. I have therefore been thinking for a while that I should cut some of them down and open up the view.


Where I have cut them down I have only done it where there is something else stopping the car crashing to the floor should they go over the lower barrier.


I think the end result looks much better and was very easy to do freehand with a box cutter. (Not often that I prefer the American name for something but Stanley is a brand and we don't appear to have an English generic name for that type of knife!)

I ended up with lots of nice looking Armco style sections with no posts. I didn't want to waste them and I had a few places they would look nice.


I found that a 20mm panel pin pushed through the plastic at the top of what is left of the post and epoxied (5 min Araldite) behind the barriers made an excellent post. I pushed them in to a 1mm hole on the track.


The main place I used this was round the hairpin. Longer cars often come off there and spin out of the corner and cross the other track blocking them . I've put a barrier that will not stop the car coming off but hopefully will stop it blocking other lanes.


The lack of height for the remaining bit of the post I made up with filler as if the earth had piled up round the bottom.


Wednesday, 13 May 2015

Bridge Under Construction

I like working with cardboard. As a teenager I made spaceships and a Dalek from Dr Who. With a liberal addition of PVA (wood) glue the end result can be very strong.


For the track I have made a steel girder bridge from layers of cardboard stuck together with, you guessed it, PVA glue.


Much of the track is grey in colour so I have selected red oxide for the bridge to brighten it up a bit. A common paint used on steel work.


Drinker Update

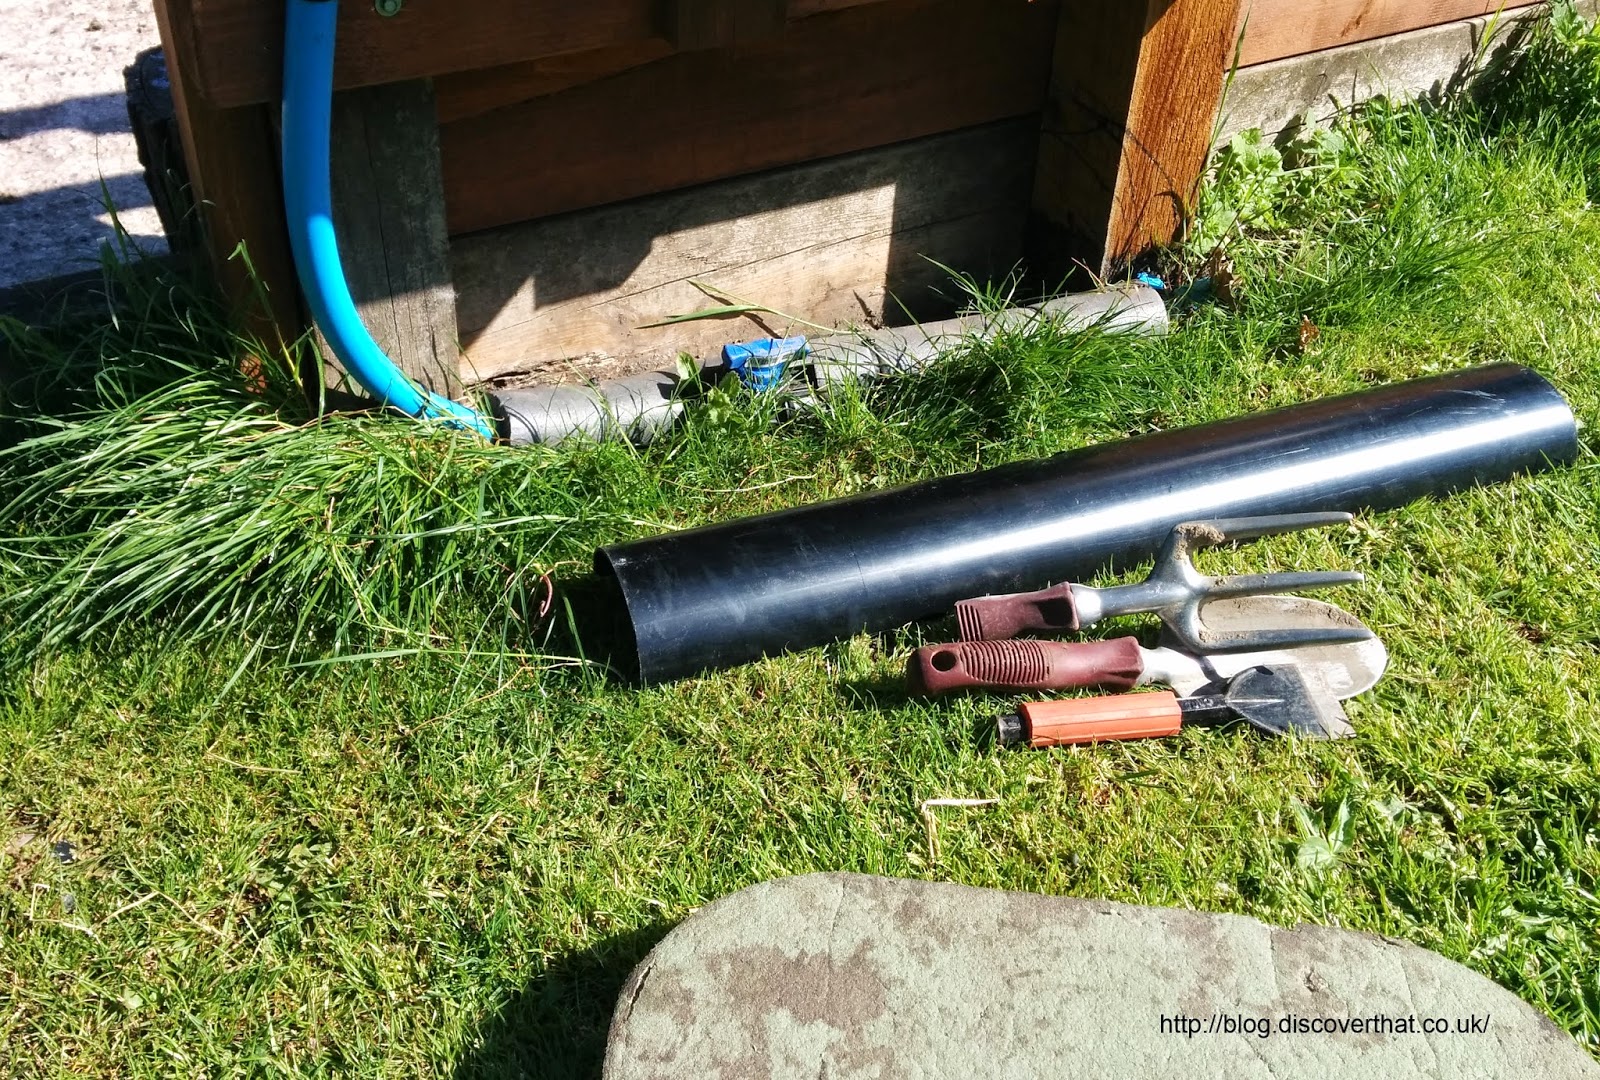
The pipe that feeds the water drinker in the yard was a bit vulnerable to damage. Most likely from a lawn mower.


I've added some protection using an off-cut of plastic guttering.


The cats helped as usual.


Fix Faulty Remote Volume

We use a Logitech Harmony remote to control our equipment in the living room. We have had the remote for years and it gets a lot of use. Not surprisingly, the button that stopped working first was the volume up button.


I have several Harmony remotes but the one I prefer, from those that I have, is the Harmony 300. Probably because it is the simplest.

I made an assumption that the fault was just a dirty contact. It made little difference what the fault was because if it was anything else I would be neither able to diagnose it nor able to fix it.

Taking the remote apart is not too difficult once you know how.


There are four obvious screws under the battery cover and two hidden under a sticker at the infra-red end. I needed to use the blade of a box cutter as a lever to prise the sticker off.


The sides are held together with plastic clips. I used a mobile phone opening tool to slide between the seam and a small flat screwdriver to separate the clips. They all came apart easily with a little levering.

Once the two halves are separated the red plastic lens can also be lifted off to leave the circuit board fully exposed. That is held down with three screws.


Now you have access to the contacts and the inside of the buttons.


I cleaned both sides with some foam anti-static electrical contact cleaner and paper towel. I've had the spray of cleaner in my shed for years so I was surprised it still worked. I think we packed it when we moved house so it is over 10 years old!


Once dry I put it back together. The only tricky bit is making sure the rubber keys line up exactly. There are some tiny guide pins that must be in place. 

The volume now works.

Tuesday, 12 May 2015

Modelling Old Walls

The technique I have used is not original but it is easy so worth mentioning again. I have used floral foam and carved the mortar joints between bricks with a pencil.


There are several makes of foam but I used the readily available Oasis. Bought in bulk it costs very little and weighs next to nothing. The normal block size is 23x11x8cm but there is a giant size if you need that.

Wedding anniversary present

The drawback of the foam is that it has no strength. You can crumble it to dust between your fingers with ease. If you are not careful just picking it up leaves finger shaped indents in the surface.

For that reason it is completely unsuitable for any area that will be handled or accidentally touched. However it is those same properties that make it ideal for old walls.


I used odd bits of board of various thicknesses as guides for the horizontal mortar joints. Just draw along using the timber like a ruler. Don't press too hard.

I used about an inch thick block of the foam cut using a long kitchen knife. Anything much thinner needs to be handled with care as it will snap easily. Buildings could be carved from a full block which would be less fragile.

The vertical mortar joints are hand drawn. The foam crumbles off in places which is what makes it look like an old wall. It would be much harder if you were trying to get modern even bricks and in my opinion another medium would be more suitable.


The carving will leave bits in the joints. I used a soft small brush to get as much out as possible but did not get too precious as it is intended to be an old weathered wall.

In an attempt to give it some strength I gave it a coating of diluted PVA glue as the primer. I am not sure if it did add any rigidity but it worked as a primer for the paint.


Painting is the same process as most scenic items. Start with a dark grey for the base layer including the mortar joints. I used a small flat brush to get in the joints.


For most things I'd add a few layers of ever lighter grey just to the surface. The upper layers being dry brushed on. In this case I liked the result after only one layer of lighter paint to the bricks.


I finished off with a black wash to weather it making sure lots got in the mortar joints.


It looks like an old wall but I repeat, it needs to be handled with care.


It's strong enough to survive in place on the layout but I would prefer if it did not need quite so much care when handling. The paint is the only thing that gives it the little durability that it has. If anyone knows a good mat lacquer that could be used to build up a strong coating please let me know.