Search This Blog

Wednesday, 24 March 2021

Bike build - Part 3

I've got quiet a few things done on the bike build in the last couple of days.

Fitting the Bearings

Now that the paint is hard enough to handle, without risking damage, I've started reassembling the bike. The first job was to fit new pivot bearings. I'd taken detailed notes of which bearings fit where.


I've done this job on another bike and my big tip is to buy the correct bearing press tools. I have a set that covers all but one of the bearings that I have and by reversing one adapter, it does a pretty good job on that last bearing size too.


I've used the common method to make fitting easier. I put the bearing in the freezer overnight and used a heat gun to warm up the cups on the frame. All the bearings went in easily and completely square.


I heated up the frame with a hot air gun.


I checked, by looking from the reverse, that they had gone fully in to their sockets.


Headset

Finding the right size tool for any given headset is difficult and needs a bit of luck.  I do have a selection of large bearing press tools and have to use the one that is the closest fit. 


I took a photo of the headset, to remind me of the order the parts fit.


Same as the bearings, I put the headset in the freezer overnight and heated the headtube before fitting. It was troublesome but eventually the headset cups went in square.


I did the lower cup first. I checked that there was no gap anywhere between the headset and the head tube.


The upper cup was much easier.


It looks a lot neater with the headset cups in place.

Assemble the Suspension

I had taken careful notes when taking the suspension apart so it was a fairly easy job to bolt it back together. 


I greased all the bearings and the spindles.


I cleaned all the threads and applied thread lock.


Cables

I had a little bit of time left before I needed to go back to my desk, so I threaded a couple of the cables.


Getting the dropper post cable in is nearly impossible with the bottom bracket in place so I made sure I did that one first, before I forgot.


Getting the dropper post cable the correct side of the pivot through the seat tube, gives a tiny bit more depth for the dropper post to be inserted. 


A bent bit of wire helped to extract the end of the gear cable.


A last quick job, for today, was to add the hanger and associated metalwork.


It's starting to come together.


==

Bike build - Next instalment

Bike build - Previous instalment

Bike build - Part 1

==

Tuesday, 23 March 2021

I've had my Covid-19 vaccination

I'm actually excited about having had my Covid-19 jab. I can't be sure why but I suspect it is because it is the beginning of the way back to a more normal life.


I feel privileged that I live in a nation that has managed to mobilise so quickly and so efficiently. According to the news over 50% of the adult population have now had their injection.

I'd like to thank everyone in the United Kingdom and elsewhere that have helped to make this happen.

Symptoms

Perhaps it's a bit contrary but I am also happy that I can feel some signs that the vaccine is working. Yesterday there was no indication but overnight I felt a slight chill and have achy joints. I also have the sniffles. My temperature is still near enough normal. I have been 36.5C for nearly all of the lockdown and this morning I crept up to 36.6C, although that could just be me wanting to see a change :-)

All these are signs that my immune system is working hard to produce the cells that will fight off any future attack of Covid-19.

==

Sunday, 21 March 2021

Bike build - Part 2

Top Coat

Satin black for the main colour.


At this time of year it's important that I run the infra-red lamps for a few hours before and after I spray on the paint. Keeping the work warm is essential for the paint to cure properly.


Before I did anything else, I left the frame to dry for a couple of days.

Detail


The next step was a little decoration.


I masked up an area and added a section of detail in a gun metal grey colour.


Once the paint was dry enough, I carefully removed the masking from all of the threads and bearing cups.


There was a little bit of overspray that needed tidying up.


==

Bike build - Next instalment

Bike build - Part 1

==

Tuesday, 16 March 2021

Giant Trance 2014 to 2016 components

While I have a couple of days waiting for the paint to dry on my bike build, I typed up the notes I took about the sizes of all the bearings, the headset and a few other notes about the Giant Trance frame.


I find this information useful for maintenance.

==

Download the diagrams as a PDF.

==


Sunday, 14 March 2021

Bike build - Part 1

Recently I have been keen to build a bike from the frame up. I don't need another bike. I have a very good, almost new, bike already. This build is just for fun. It's been over 30 years since I last built a bike from scratch.

The Frame


I've been on the lookout for a while and last week I found a frame that I liked on eBay. I was after a full suspension frame with a thru-axle rather than dropouts. I also wanted one in a size that both Shelley and I could ride.

Model: Giant Trance
Year: 2014
Size: Medium
Wheel size: 27.5"
Type: Full suspension
Rear hub size: 142x12mm thru-axle
Steerer tube: Tapered (1-1/8" to 1-1/2")
Seat tube I/D: 30.9mm dia.
Bottom bracket: 41mm dia. push fit

The frame is designed for a 120mm to 140mm travel front suspension fork.

Respray


The plan is to paint the frame, so the first job was to completely strip it down.


I've removed the pivot bearings. I plan to replace them with new.


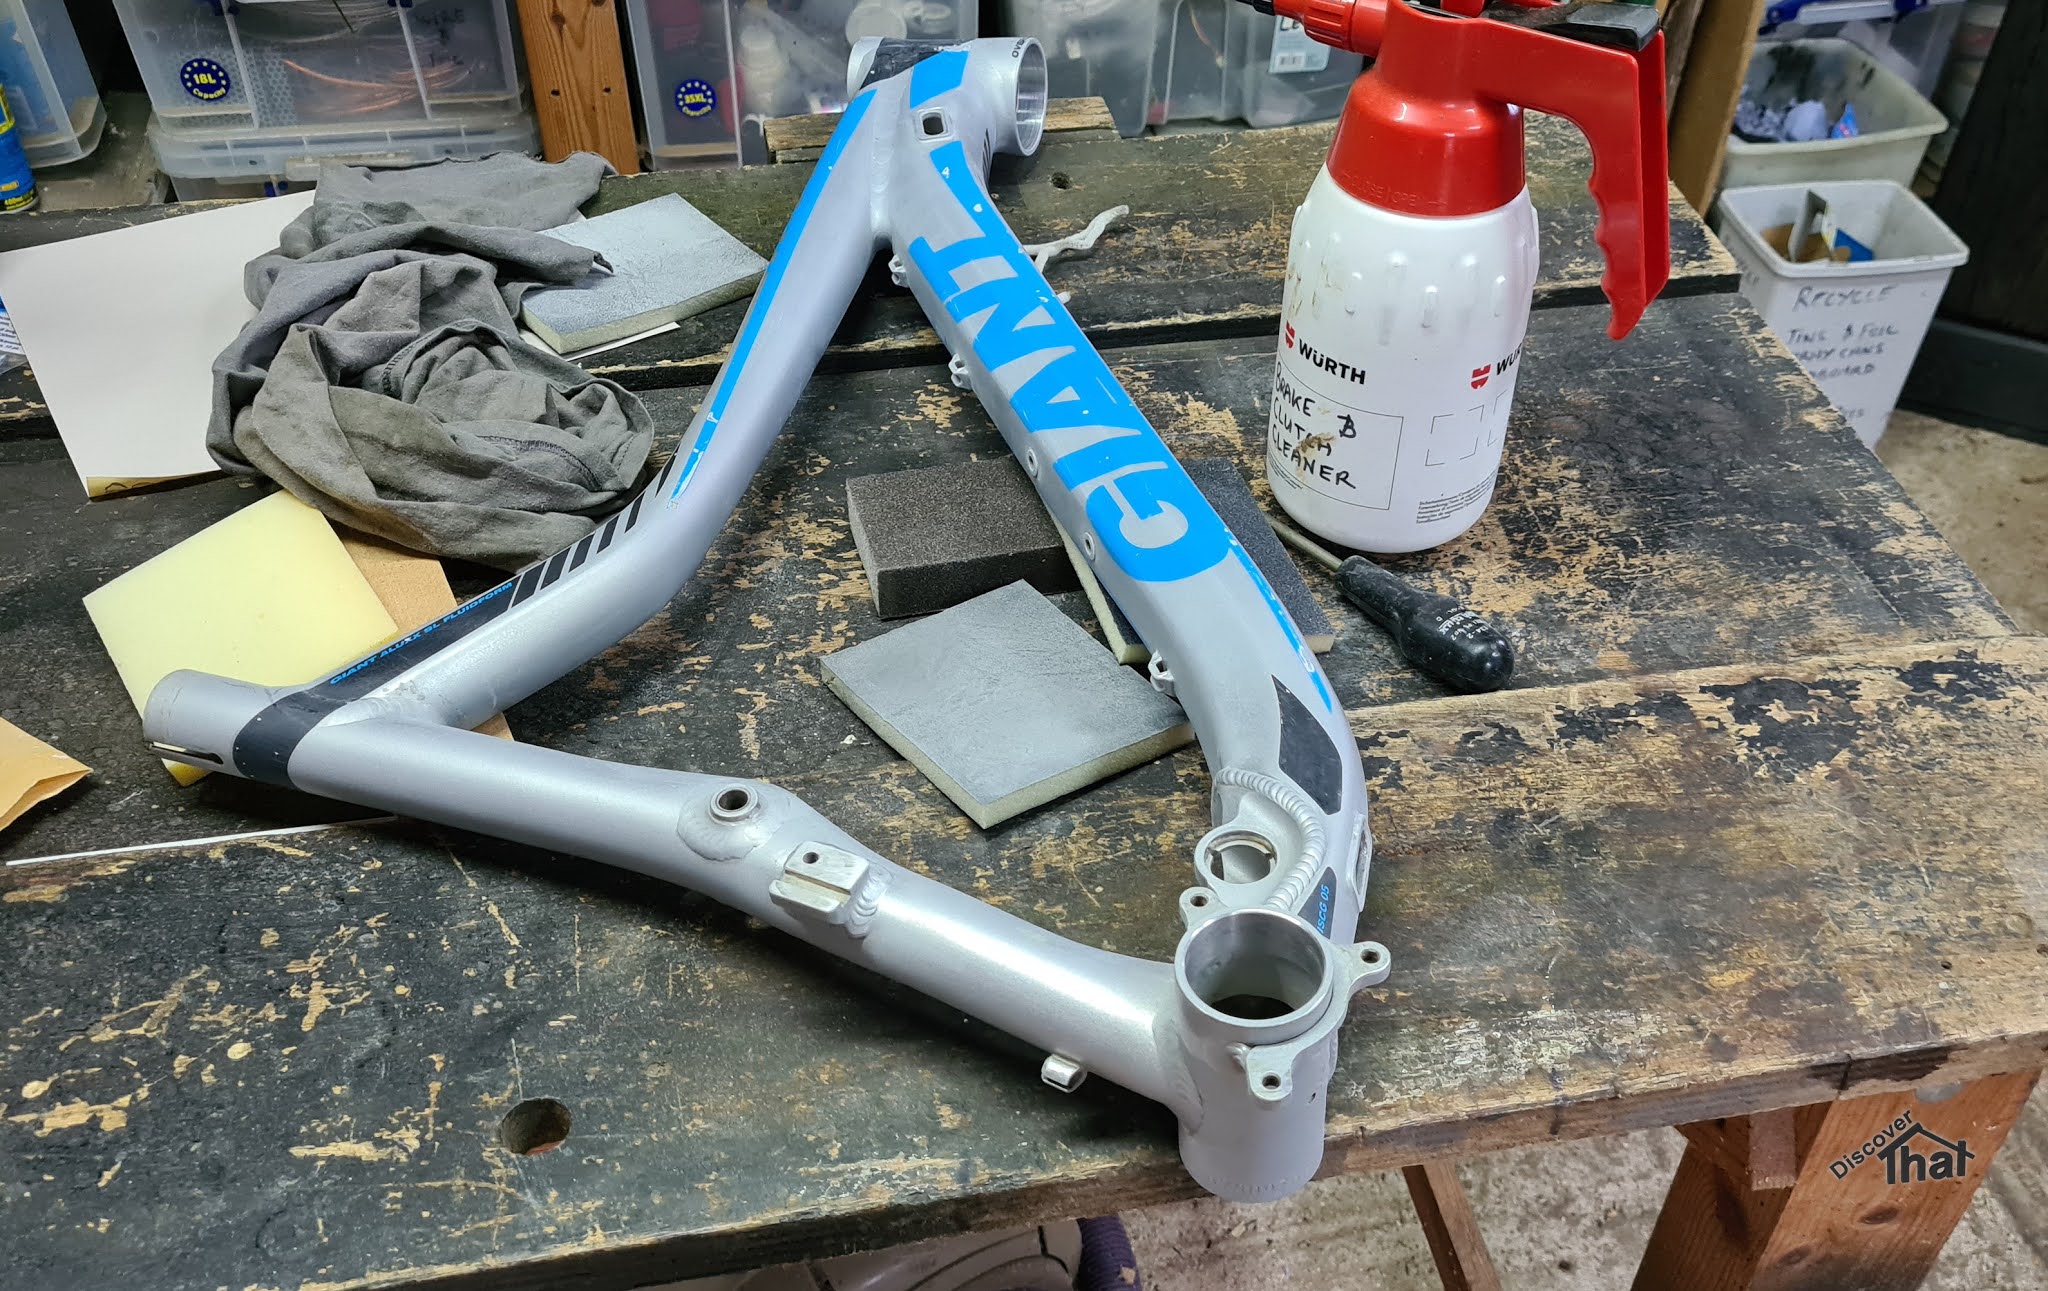
I sanded down the frame. Some areas needed more work to smooth out some minor scratches but the majority just needed the existing paint keyed ready for the new.


I then masked all the bits of the frame where I didn't want to get any paint. This included all of the bearing sockets and the threads.


The final job for the day was to add three layers of primer to the frame. I have some infra-red lamps that I use to warm up the shed when painting.

That's all I can do for a few days while the primer cures.

==

Bike build - Next instalment

==

Wednesday, 10 March 2021

How I light our range

By next winter I will have forgotten the way I find works well to light the range. 


Hopefully, this will remind me.


I start with a layer of rolled up cardboard. I like to use that because we get lots of it.

Then the all important layer of kindling at right angles to the cardboard. 3 or 4 lengths is enough.


On top of the kindling I put two small to medium size dry logs.


That's it, I find that lights easily, most of the time.

==