As mentioned in an
earlier article about fitting a dropper post, I had to put back the bottom bracket (BB) on my bike. That is not recommended because removing press fit BB's is very likely to damage them. I now know for sure, that is the case.
What's in a Name
As an aside, why is it called a bottom bracket?
Nowhere on the bike, that I know, is called a top bracket, so the word 'bottom' is superfluous. It is not the sort of thing that I think of when referring to a bracket, so the word 'bracket' is inaccurate!
It should be called the 'crank axle bearing housing,' or something to that affect.
The derivation is probably lost in the mists of time.
I'm not suggesting that it should be renamed, it just struck me as odd.
|
During the 30 mile ride, last weekend, my bike sounded like a bucket of nails. Some of that was to do with the pedals but I suspect most was due to the bottom bracket bearings falling apart inside.
Fitting a new BB is fairly easy. In this case it is a SRAM dub pressfit.
The chain has to be out of the way. Pulling back the derailleur gives enough slack to easily remove the chain from the chain ring.
It is not necessary to remove the pedals but I was replacing those as well, so they came off. The right pedal has a normal thread but the left hand pedal has a reverse thread. Even though I knew that, I still accidentally tried to turn it the wrong way for a moment before correcting myself.
Stopping the cranks turning is always awkward, so I spent some time making a wooden stand, of the right height, to rest the end of the crank on to get enough leverage to release the bolts. For this, the bike needs to be on the ground not in a stand.
It makes removing the crank axle bolt on a SRAM set, very easy. At least, very easy, with a long breaker bar. I lean over and on the saddle to keep the bike, and therefore the crank, from moving towards me.
With the cranks removed it is a case of bashing out the bearing cups on each side. This is what damages the bearings.
First remove the spacer if fitted. On my bike it is a 4.5mm thick plastic ring, that fits in a groove round the bearing on the drive side.
To remove the bearing cups, I think it is best to use a tool designed for the job. This pushes out the bearing cups evenly to avoid damaging the frame. It could be done carefully with a straight punch, a little at a time, but I prefer the specialist tool.
It needs a lot of force to remove the cups. You can bash them with the bike upright and against your body but I find that unsatisfactory. I much prefer to lay the bike on it's side, put a block of wood against the frame, as close top the bottom bracket as I can, so I can get a solid base to bash against.
In that position one or two good swings, usually gets each cup out, one side at a time.
After that the bike can be put in to a stand for the rest of the work.
 |
| Left = New, Right = Old |
Looking at the bearings, once they were out, it was obvious that they did need replacing. The shield was clearly badly deformed.
Anything going back on, I cleaned. The cranks, chain ring, bottom bracket and the SRAM spacer.
Now to fit the new bottom bracket
Last time I did this I did not have the correct tool to hand and made a bearing press out of large washers. That worked but took care to keep everything central and inline. I now have the correct size bearing press for the SRAM dub bearing cups. I also have a larger size set of bearing presses.
Some people fit both bearing cups at once but I prefer the strategy of fitting one at a time. SRAM recommend fitting the LEFT hand cup FIRST. That is the one that does not have the sleeve attached.
I greased the frame where the bearing cups will sit.
I have a bearing press that fits neatly in the frame, without any stress and one that fits in to the dub bearing. The pressure is applied a little at a time using a long threaded bolt. The correct tool, keeps everything alighted square with the frame to avoid damage.
Once one cup is in, I removed the frame size bearing press, put the right hand cup with the attached sleeve up against the bottom bracket and added the dub size press. I had already made sure that I had not attached the spacer. Accidentally pressing against the spacer, will damage the bearing!
Using the correct tools, the bearing cups went in easily.
Fitting the cranks is easy. First I pushed on the 4.5mm spacer.
I wound back the adjustment collar on the non-drive side and added grease to the axle and the threads, as suggested by SRAM.
The torque setting is shown on the bolt cap, 54 Nm.
Once the axle was tight, I adjusted the collar to remove any side to side motion and tightened up the screw to hold it in place.
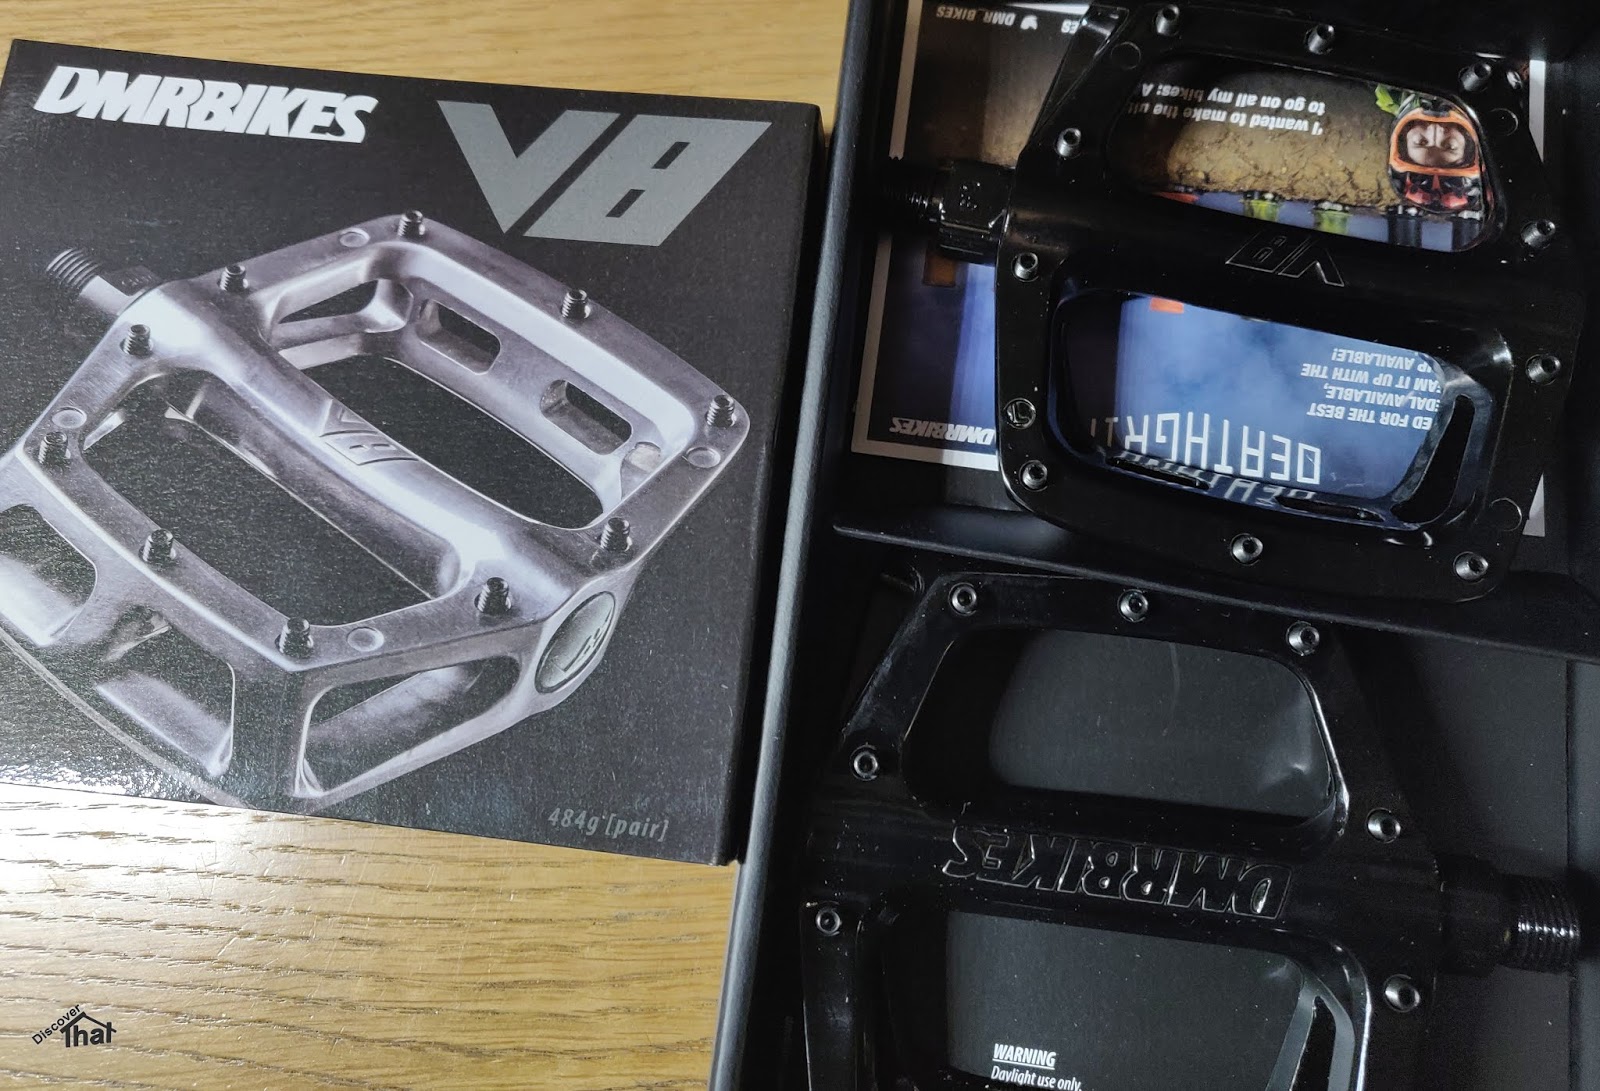
I added my new pedals, torqued up to 35Nm, as per the instructions that came with the pedals. It helps to have a torque wrench that torques in both directions. Many torque wrenches do not, they only work clockwise. I expected to do this often enough that it was worth the little extra trouble of finding and buying one that has a push through connector, specifically so it could be used in both directions. I did not want to over tighten one of the pedals!
I put the chain back and went for a very short test ride. All nice and quiet from the drive train.
==