
The manual says the towing eyes on the Discovery 3 and 4 are not for off-road recovery however there is more than enough anecdotal evidence, to satisfy most, that the points are more than adequate. The rear one particularly looks very strong and the front looks stronger than most people fit to a Defender.
It is therefore a little bit controversial, and perhaps a little redundant, to fit extra towing points for off-road use but that is what I have done. I'm just not entirely comfortable relying on having only a single connection at each end of the vehicle. Having eyes either side of the vehicle allows me to use a bridle which requires two attachments.


I could not find any third party recovery points so I designed my own.
I had them made by a local blacksmith friend.

He had them galvanised for me and I painted them so that they stand out.


The contrasting colour is not essential for off-roading events however it is common practice for competitive motor sports.
Today I fitted them.

The front pair fit under the wishbones. They are a long way back, so they are not very convenient and I suspect that I will use the factory fitted ring most of the time.
As I get to know the car, I hope I will come across somewhere further forward that I could mount something but for the time being this position will suffice.

I would have preferred some bolt holes directly on or through the main part of the chassis but, so far, I have not found anything suitable. I have used existing bolt holes that go through a mount connected to the chassis. The surrounding area is made of 3mm steel plates welded along two edges across a corner. As they are part of the suspension I am sure they are suitably strong enough. In addition the front guard should spread the load over a larger area.


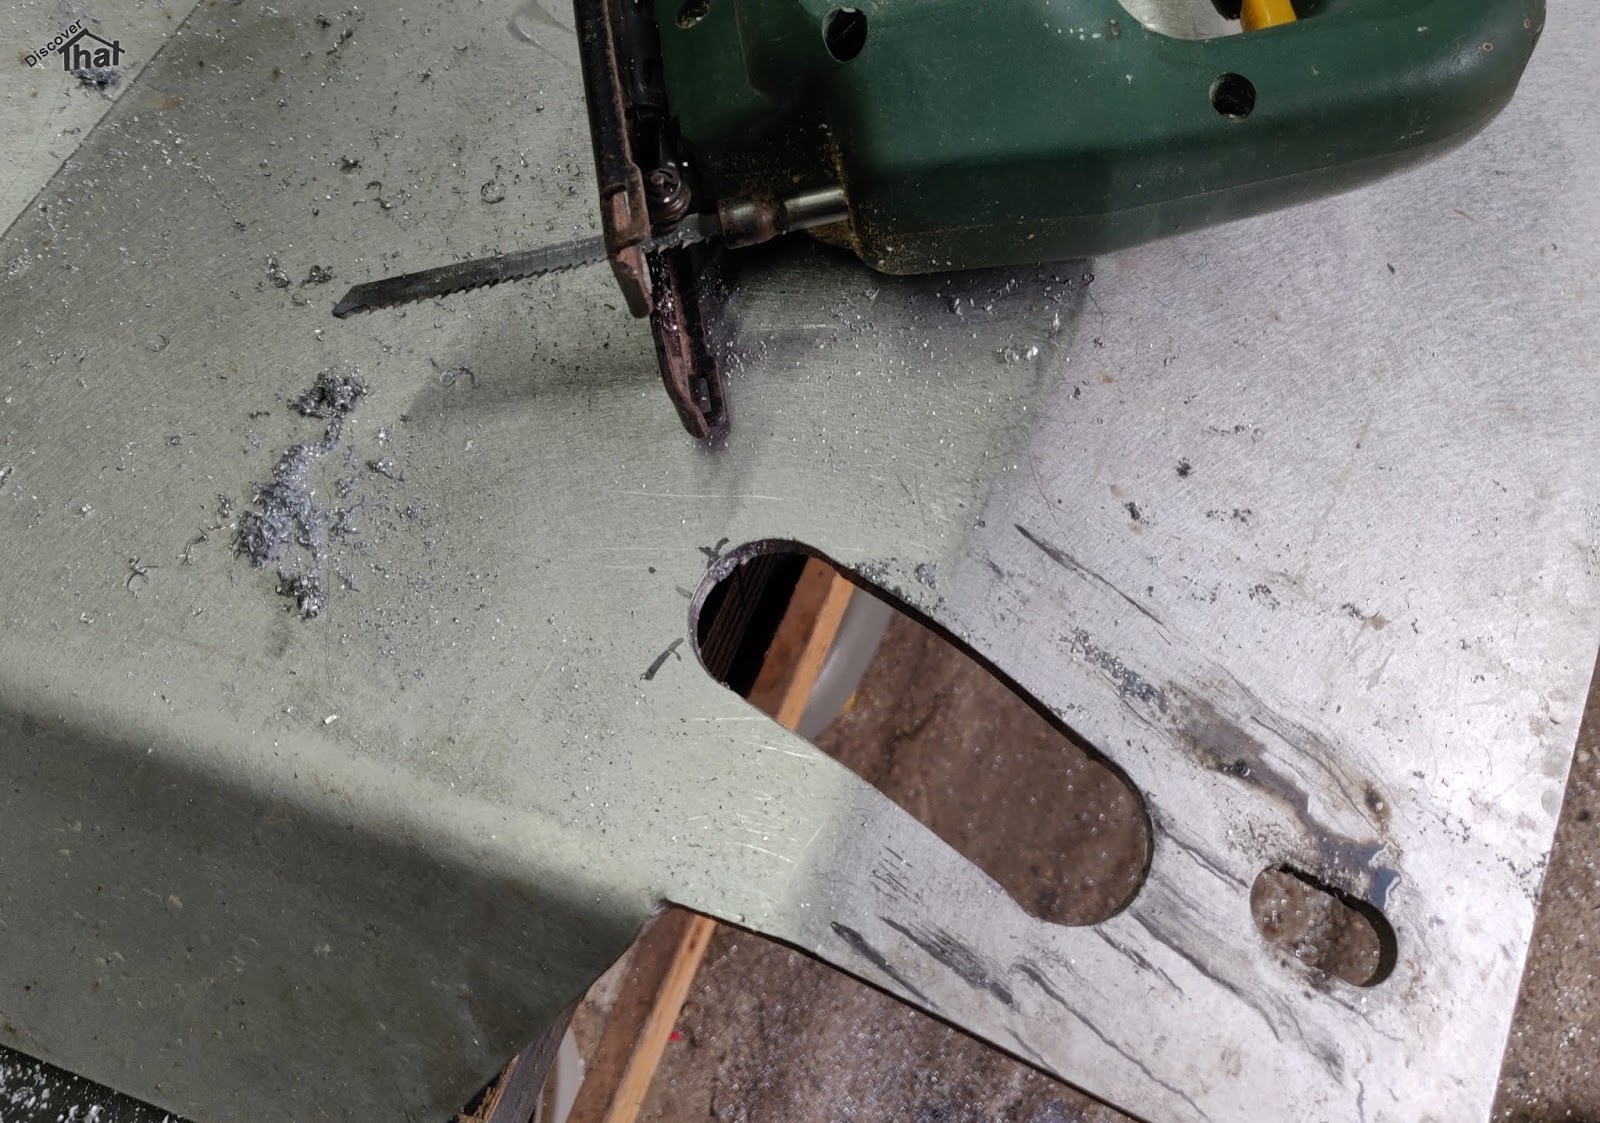
I fitted them under the front guard which I had to cut to be able to attach the shackles.


I plan to use soft shackles so I made sure all the edges are smooth.


The slots I cut are at a slight angle towards the centre because that is the angle formed by the use of a bridle.

The rear Jate rings are much easier to fit.


The M14 bolts just fit above the exhausts and can then be slid in to place through the existing hole intended for the fully fitted tow bar.

These, at the rear, are therefore mounted in positions that I am very confident will be strong enough for any off road recovery situation.


I'm pleased with the results. They are untested at the moment but I'm confident they will do their job.
==
Download:
LR Discovery 4 front recovery points drawings (PDF)
LR Discovery 4 Jate ring drawings (PDF)
==
4 comments :
Fantastic job. Could you kindly provide drawings for that 3mm steel welded plate and hole pitch and dimensions including those for the front guard (the oblong holes) please? I want to do a similar set up. Also have you found any position forward to that of those presently chosen? Or do you feel a Bull Bar recovery point will help? Thank you
The steering guard is made by prospeed. See my earlier post about fitting that.
https://blog.discoverthat.co.uk/2018/10/d4-steering-guard.html
On that post, there are some photos of the front of the car without the bumper.
I could not find anywhere else to fit front recovery points without making significant changes to the front of the car.
Regards
John
Hi John
Thanks for the reply. So am I correct in assuming that the front recovery points actually go off the front prospeed guard and not off any point on the chassis? Do you have a phone number or e-mail I can correspond with more easily?
Thanks
KS
The recovery points and the guard both bolt to the chassis at the suspension mount.
The recovery point uses two bolts both to the chassis.
Unfortunately, that was the only place I could find. It's a little too far back to be convenient.
Send me a Facebook message.
https://www.facebook.com/profile.php?id=100002281774935
Post a Comment