There have been a few posts on Facebook asking for recommendations for tools. This is obviously of interest to people. Often the only bike tool brand that people have heard of are Park Tools.
I have found kits containing multiple tools are rarely useful and most tools will remain unused. I prefer to get the individual tools I need for each task. I have a lot of tools.
Sometimes budget tools are more than adequate but for some tasks the right tool is necessary. There are a number of good makes available.
Allen Keys and Torx Wrenches
These are needed all over bikes. I have found that the budget sets round off too quickly and are just frustrating. There are plenty of choices for good quality allen (hex) keys and torx wrenches.
I have two different types of sets.
The simple L-shape is useful for getting into smaller spaces, such as under the saddle.
Wera and
Bahco do some nice sets but there are lots of other, even unbranded, mid-priced sets that will do an acceptable job.
The T-shape sets, with a larger handle, are more comfortable to use.
I am very happy with the Inbus branded tools that I have, however, Bahco and others have similar sets.
Sockets and Ratchets
Many people manage without a socket set but I think there are enough places where driving the hex key or torx bit with a ratchet, is much easier. Any half decent set will be more than adequate for a bike.
I have several Land Rovers so my sets are complete overkill for bike work. My main set is from the Halfords Professional range and I've had it for decades.
One useful tool, often overlooked by bike mechanics, is a large breaker bar. This can be very handy for removing cassette lock rings, pedals, cranks and threaded bottom brackets. I have 600mm (24") and 750mm (30") breaker bars.
Torque Wrenches
Some people use guess work to tighten bolts. That's OK but risks over tightening and damaging, either the thread or what is being clamped. For steel frame bikes and steel components the margin of error is quite large and a torque wrench is probably not needed. For aluminium components and definitely for carbon parts, I think it is necessary to use a torque wrench.
This is where I get a bit fussy. In my opinion, bikes need two sizes of torque wrench and the larger needs to be reversible.
Bikes have a couple of reverse threads but most torque wrenches only measure torque in the forward direction. It is necessary to read the detailed description of the tool to find out if it reads torque in both directions. I prefer to have a torque wrench that has a push through head which means it definately can be used in both the forward and reverse directions to limit torque values.
The parts of a bike that need a higher torque are the pedals, cassette lock rings, centrelock brakes, some cranks and threaded bottom brackets. The highest torque requirement, that I have seen, has been on SRAM cranks, which state 54Nm. The most common use is the cassette lock ring, which needs 40Nm.
For my larger bike torque wrench, up to 60Nm, I have the Norbar NorTorque 130111 Model 60 push through. It's a very nice bit of kit, as pictures above.
As an aside, 60Nm is still a small torque wrench by Land Rover standards. My main car torque wrench goes up to 240Nm, which would destroy most bike components!
I am pretty sure that the vast majority of people working on bikes only have smaller torque wrenches.
As far as I know, none of the smaller components on bikes have a reverse thread. Which is probably why I have not managed to find a reasonably priced small torque wrench that measures torque in reverse.
The little set I have works well and goes from 2Nm up to 16Nm. That is the range needed for handlebars, brakes and pivots on mountain bikes. Of these, the pivot bearing are the highest values, that I have seen, going up to 15Nm. There are lots of different makes, that all look very similar and all will be more than adequate for use on a bike.
One last word here. A torque wrench is a precision calibrated measuring instrument. It is not intended to use instead of a ratchet spanner to force off stuck bolts.
Chain Checker
These tools are much faster to use than measuring the chain to check how much it has worn. That said, I have a word of caution.
I tested all the chain checker tools I had against a measured length of chain and only the
Park Tools CC-4 tool accurately measured the chain wear.
All the low cost versions that came in sets with other tools, were so inaccurate, I threw them away.
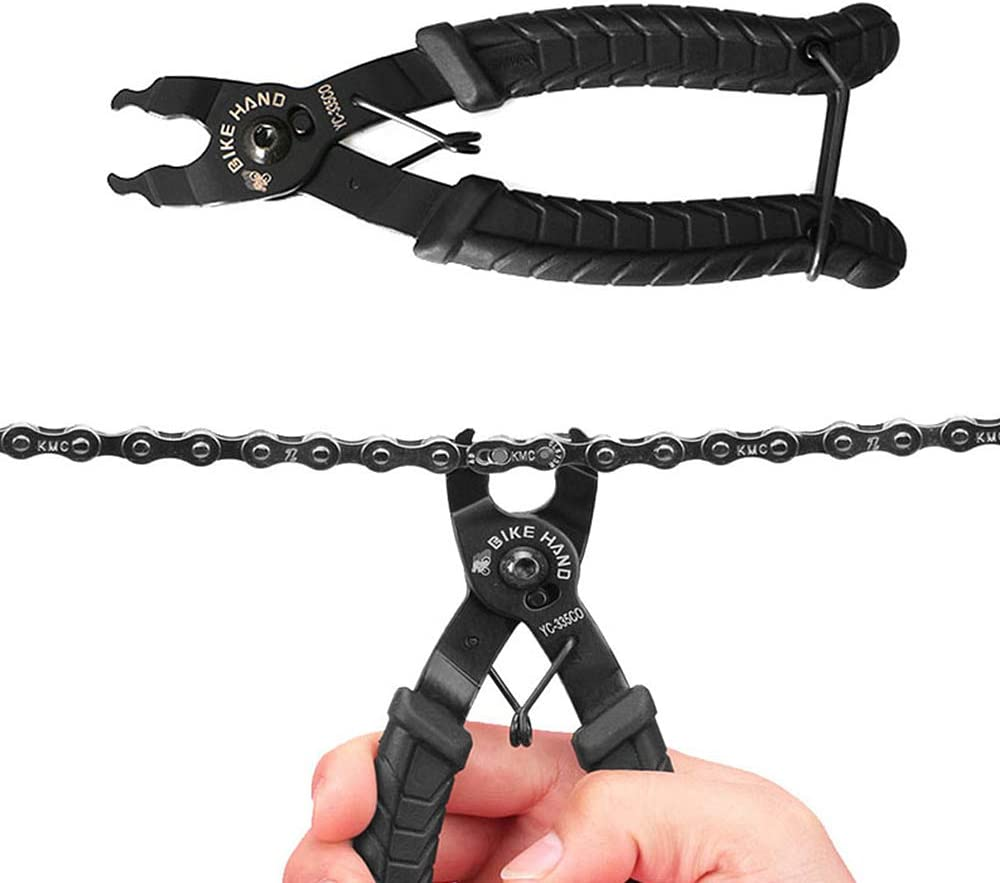
Chain Link Tools
This is used with the various type of quick link to both lock and unlock the link. It's not essential for fitting a chain, because pressure on the pedal is enough to click the link in to place. It is preferable, if you like an easy life, when trying to remove an already fitted link.
Even the budget version of the chain link tool, that I have, works very well.
Chain Whip
This is used to hold the cassette still while undoing the lock ring.
It's a very simple tool, easily made out of an old chain, if you could be bothered. Any off the shelf chain whip should work but I found that none of them would fit the 12 speed cassettes because the rivets stuck out too far to fit between the sprockets on the cassettes.
I eventually replaced the longer section of chain with a used bit of 12 speed chain. That now works well with all the cassettes I have tried it on, 12 speed down to 9 speed.
Chain Breaker Tool
The 11 and 12 speed chains need a tool designed to fit them. A budget breaker, that I had for years, was too large for the newer pins. I had to buy a newer and slightly better quality generic tool to break 12 speed chains.
Hanger Alignment Gauge (HAG)
I have fixed many gear indexing issues simply by aligning the hanger correctly. It is the first thing I do before fitting a derailleur.
There are lots of choices for these. Despite what some people say, this is an essential tool, especially for 12 speed derailleurs. In my opinion, it is not possible to align the hanger accurately enough by eye for the newer groupsets.
It's worth reading some reviews, because some are more accurate, or easier to use, than others.
I have the
Abbey Bike Tools, HAG and it works well but it costs a fair amount. There are plenty of others at much more reasonable prices that are likely to do an adequate job.
Cable Cutters
These are used for cutting the inner and outer housing of brake and gear cables. Especially for the outer cables, having a good cutter is essential to get a clean cut. I still find it necessary to open up the centre using a pointed bradawl.
There are plenty of good choices available. They often look the same, with a different brand on them.
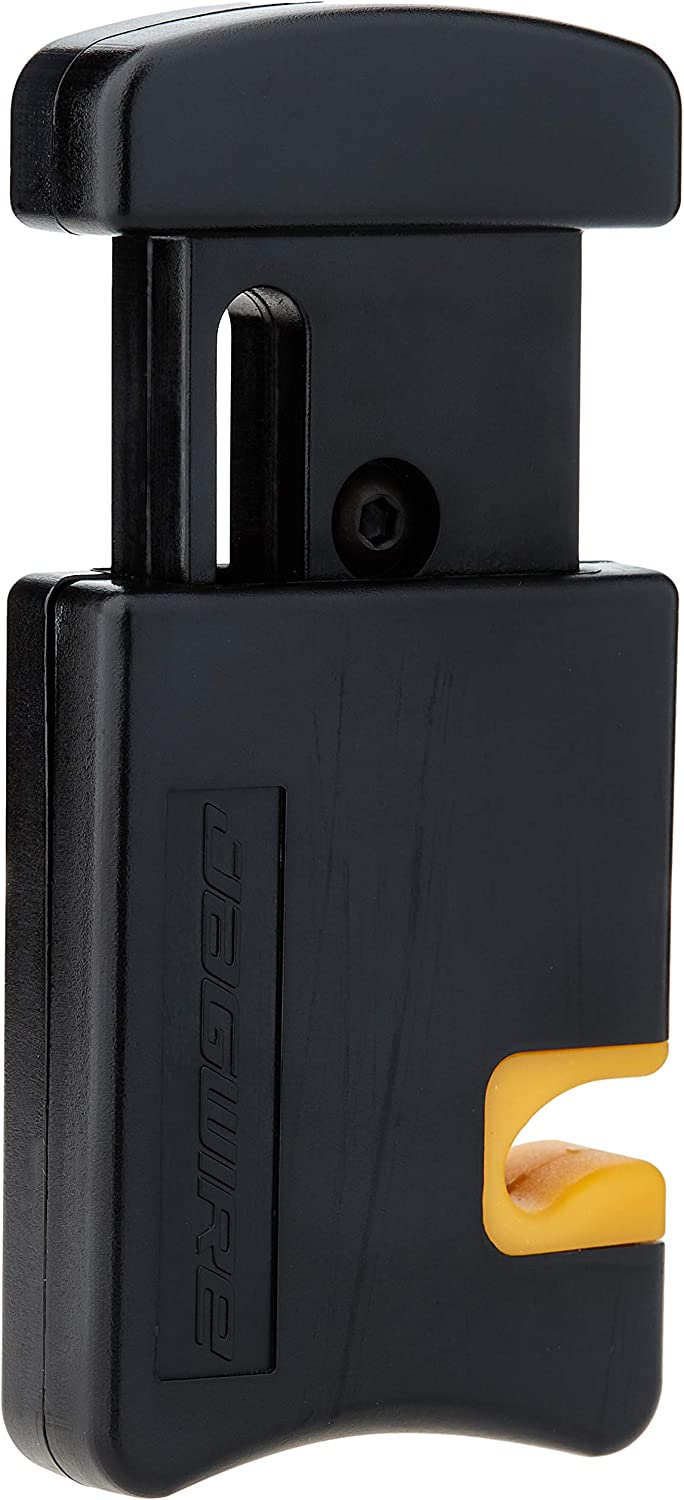
Hose Cutter
This is used to cleanly cut bike hydraulic brake hose. The hose needs to be cut square for the barb to fit properly so the olive clenches on hose, not thin air.
I find the
Jagwire cutter to be very good and easy to use.
Brake Bleed Kit
I like the kit I bought.
I find the syringe and the little bottle are very useful. The same kit is available under many brand names. It is the grips on the syringe that I find the most useful, making it easier to pump and pull through to fluid.
Tyre Sealant Injector
A large but simple syringe is very useful for dealing with tyre sealant for tubeless tyre setups.
I have found the least messy way to fill a tubeless tyre, is to add the sealant after I have fitted the tyre to the rim.
I simply deflate and remove the valve core, fill the syringe and poke the thin tube through the valve and add the sealant. Hardly any mess.
Cone Spanners
These are used for rebuilding wheel hubs. They have to be very thin to fit in the groove of both the lock nut and cone.
I have a low cost complete set which works OK but I have a couple, where I needed duplicate sizes. In those cases I have taken the opportunity to select a stronger type with a more comfortable handle.
My preferred set are branded
Super B. They are made in Taiwan and are much better quality.
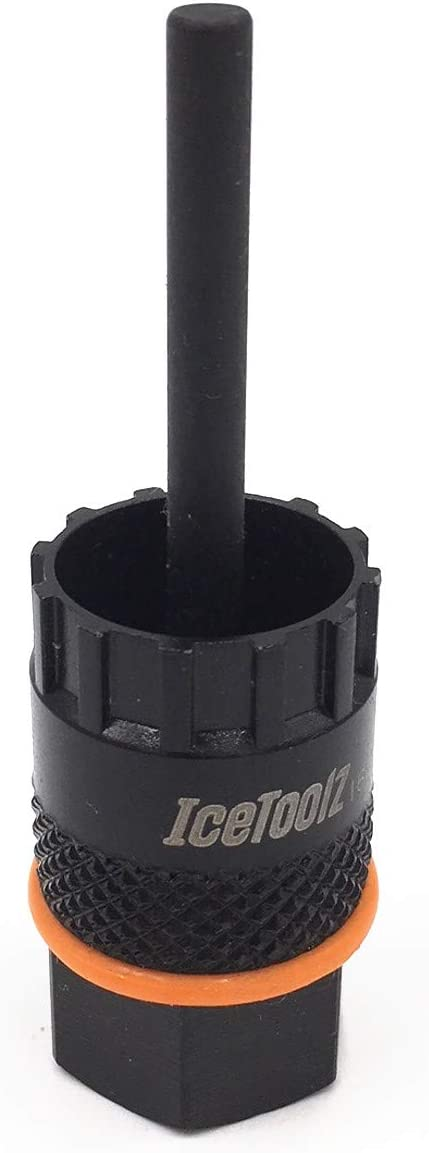
Specialist Tools
These are specific to bike components. I've tried a couple of cheap sockets but the aluminium ones are just not strong enough, in my opinion, and some of the low cost versions, do not fit properly.
These are used for things like, the cassette lock ring, centrelock brake rotors and threaded bottom brackets. I buy whichever I need, as needed.
I've found a couple of makes, in addition to Park Tools that make good strong tools. I've been happy with both IceToolz and Lezyne tools.
Bearing Press Tools
These are used to remove and put back in sealed bearings. These are needed when a bike has a press fit bottom bracket or on full suspension mountain bikes, for all the pivot bearings.
I've tried using the old mechanic technique of sockets, nuts, bolts and washers, but it is very time consuming and difficult to align the bearing. Pressing in a miss-aligned bearing will likely damage the frame so the bearing will eventually work loose.
I have found using the correctly sized stepped drifts are much more effective. The bar is not important, I use my own threaded rod of the size to match the drifts, but the drifts must be the correct size to fit the bearings accurately in order to keep them squarely aligned.
I've bought a generic set that works well with the more common bearing sizes, but I've also had to buy individual tools for some bearings, especially the very small ones.
My preferred UK supplier is https://www.bearingprotools.com/ they also have an eBay store.
Even with the correct tools, it can still be difficult to extract and re-fit some suspension bearings. This is usually because they are in awkward to get to places or there is no flat surface for the press or extractor to push or pull against!
There is another type of bearing extractor, which I have not shown here. That is because, the one time I've tried a blind puller, I failed to extract the bearing using that method and had to resort to other, less elegant, solutions to get the bearing out. Blind pullers, have an expanding clamp that fits from the outside of the bearing and attaches to a slide hammer.
Conclusion
That's just some of my tools that I use on my bikes.
There are lots of good makes of tools and, in my opinion, no one brand is the best value or quality for all tools.
==